WooCommerce Variation Image Galleries: Fill Each Color by API
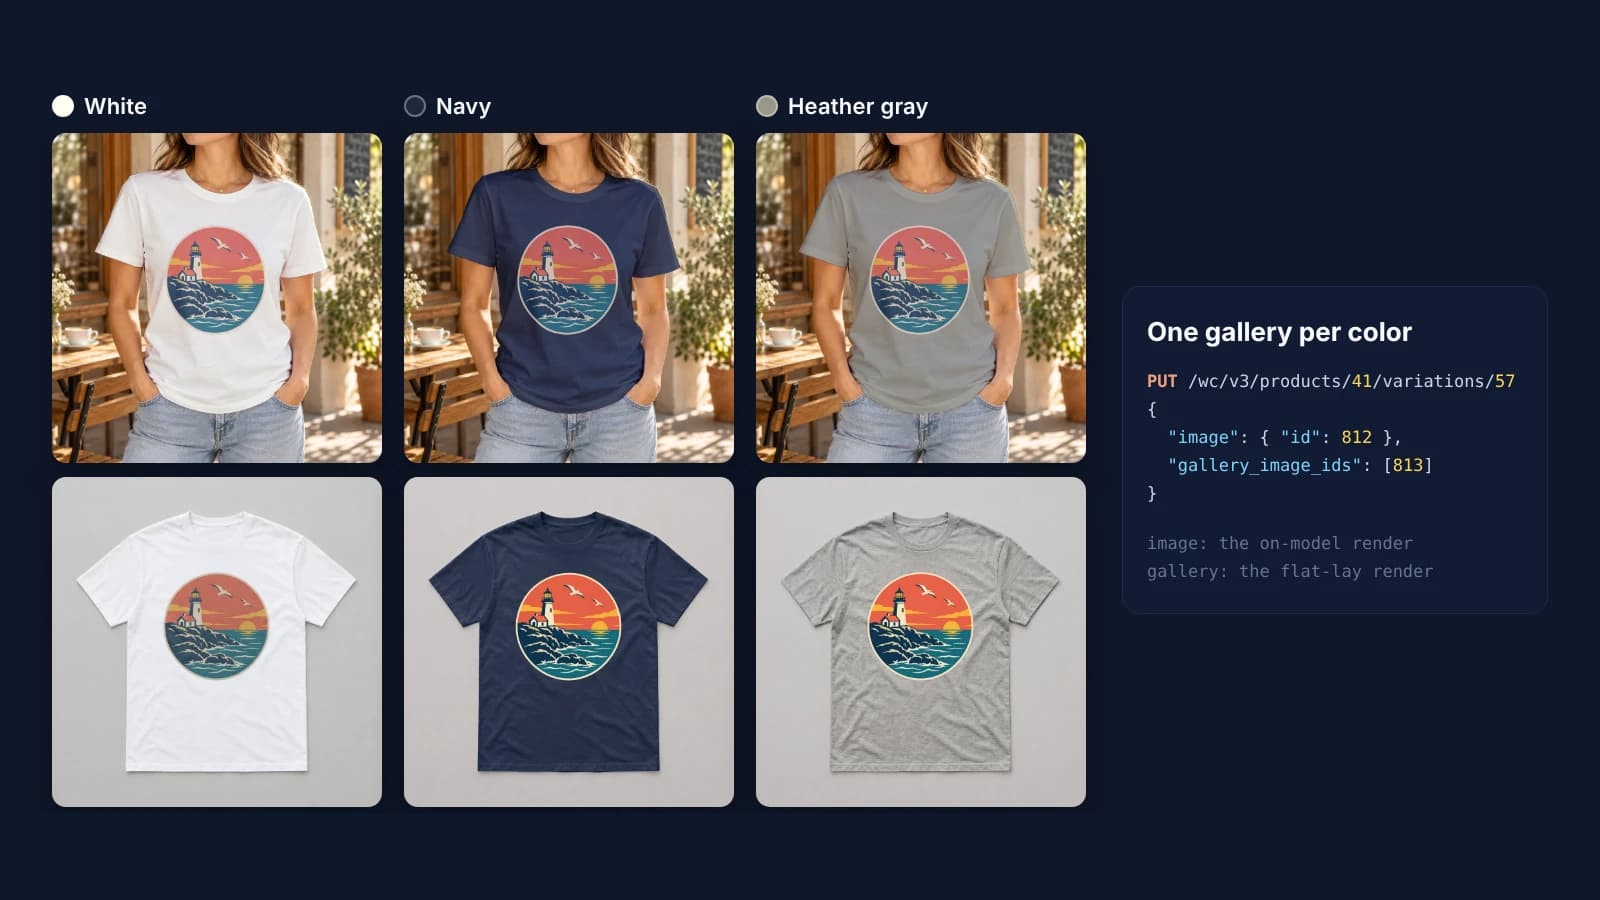
Since WooCommerce 11.1 every variation has its own image gallery in core, and the wc/v3 variation endpoint reads and writes it as gallery_image_ids. Render each color's views from your PSD and product photos, upload them to the media library, then set the main image and the gallery in one PUT per variation.
Published 5 min readBeck
Key takeaways
- gallery_image_ids takes media library attachment IDs, never image URLs.
- A gallery view can come from a product photo mockup, so one PSD per view is not needed.
- The batch endpoint sets every color of one product in a single request.
What changed in WooCommerce 11.1
Variation galleries, opt-in since WooCommerce 10.9, are on for every store from 11.1 with no extension. A script can now fill the gallery of each color.
WooCommerce's developer post of September 1, 2026 puts it this way: "The wc/v3 product variation REST API exposes the gallery through the readable and writable gallery_image_ids property. This property contains gallery attachment IDs only; the variation's featured image remains separate in image." The same post says the Additional Variation Images extension is deactivated automatically on the update and that existing variation galleries keep appearing through core. So a store keeps the galleries it had, and every variation without one, in existing products or new ones, can be filled by API.
A variation therefore takes two fields:
image: the main image shoppers see when they pick the color.gallery_image_ids: the extra images for that color, as media library attachment IDs.
Plan the images for each color
Decide the views before you render anything: one main image per color, plus the gallery images. Every view is one render, so 3 colors with 2 views each are 6 renders. In the run below the main image is an on-model shot from a t-shirt PSD and the gallery holds a flat lay from a product photo.
| Color | Main image (image) | Gallery (gallery_image_ids) |
|---|---|---|
| White #FFFFF1 | 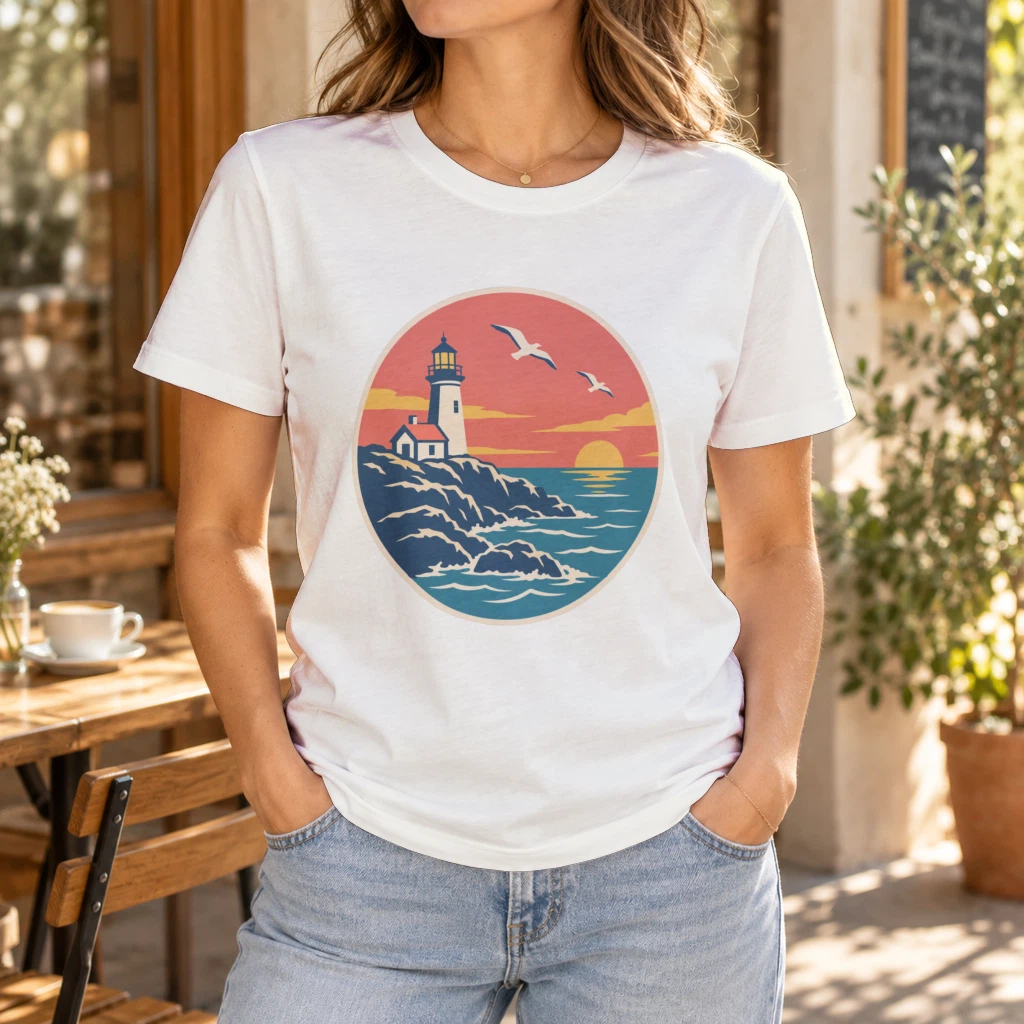 | 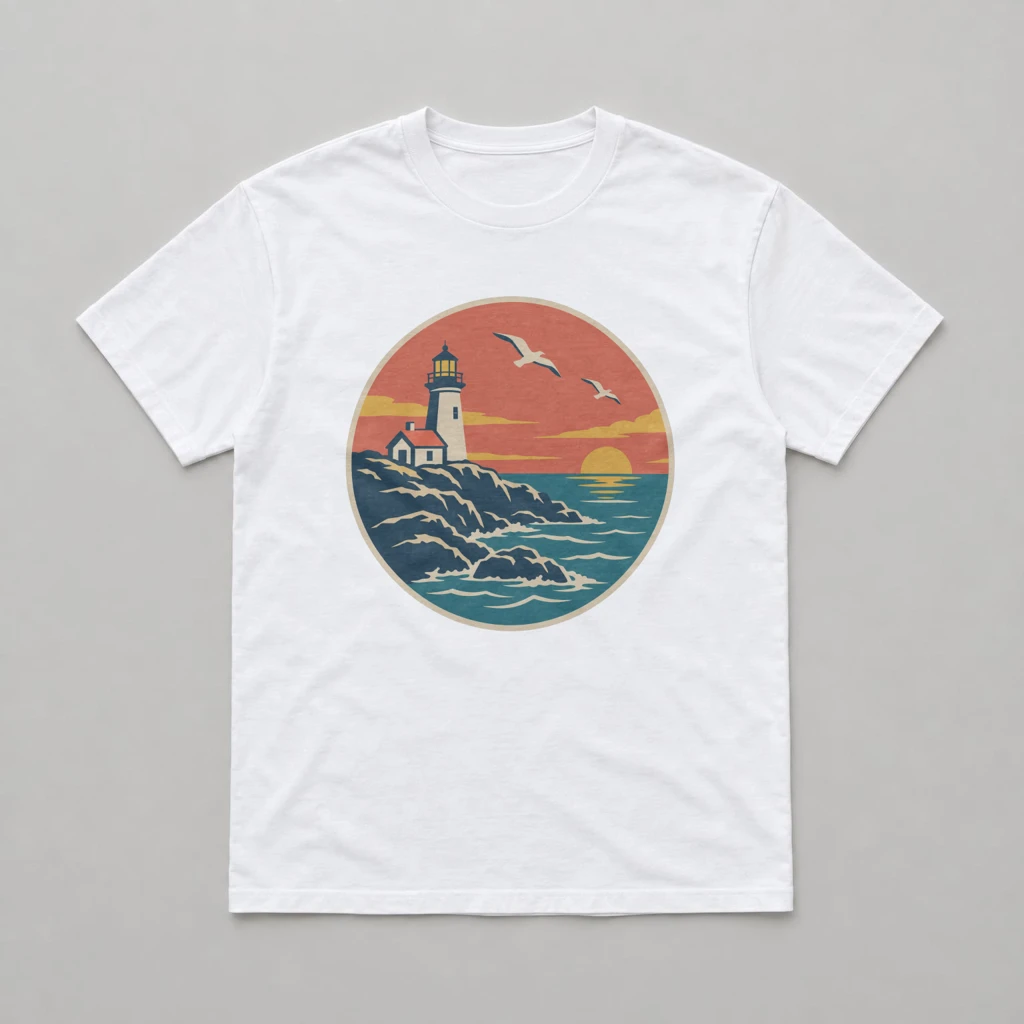 |
| Navy #1E293B | 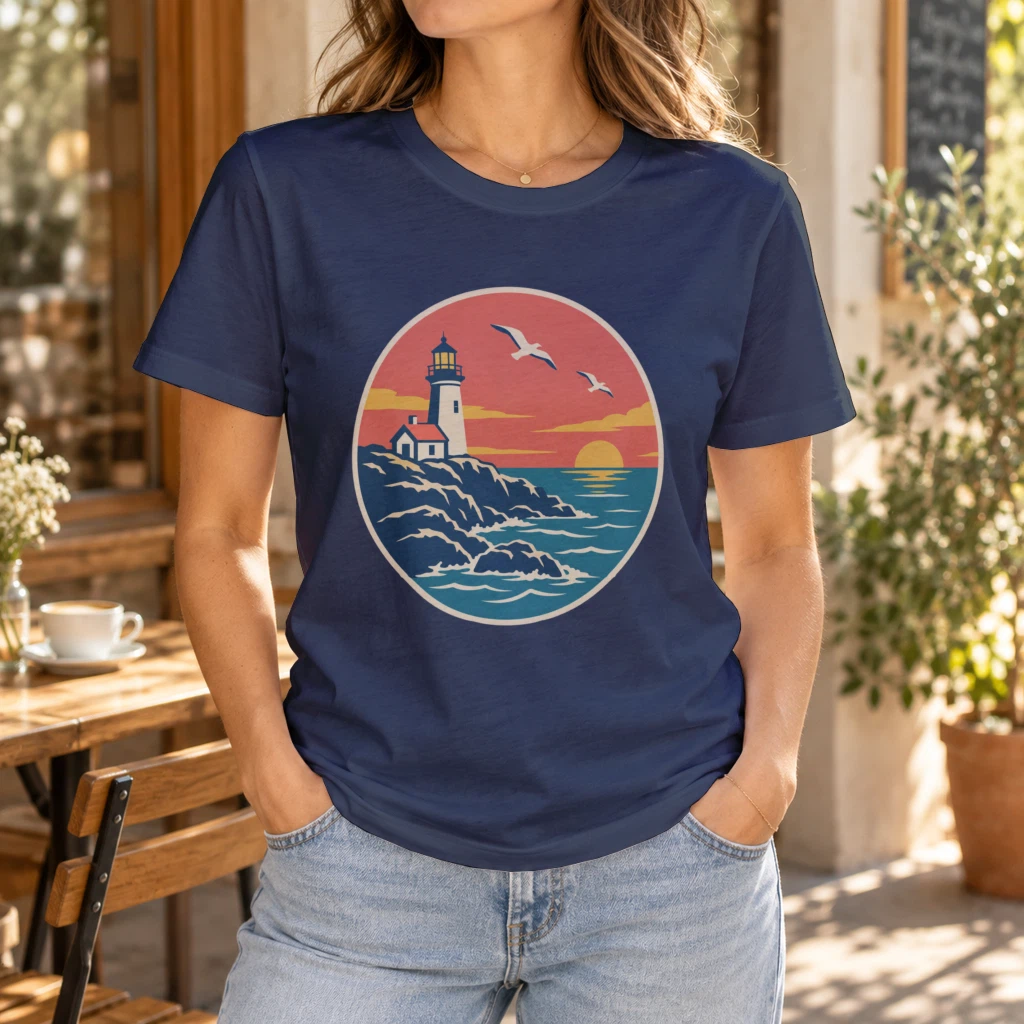 | 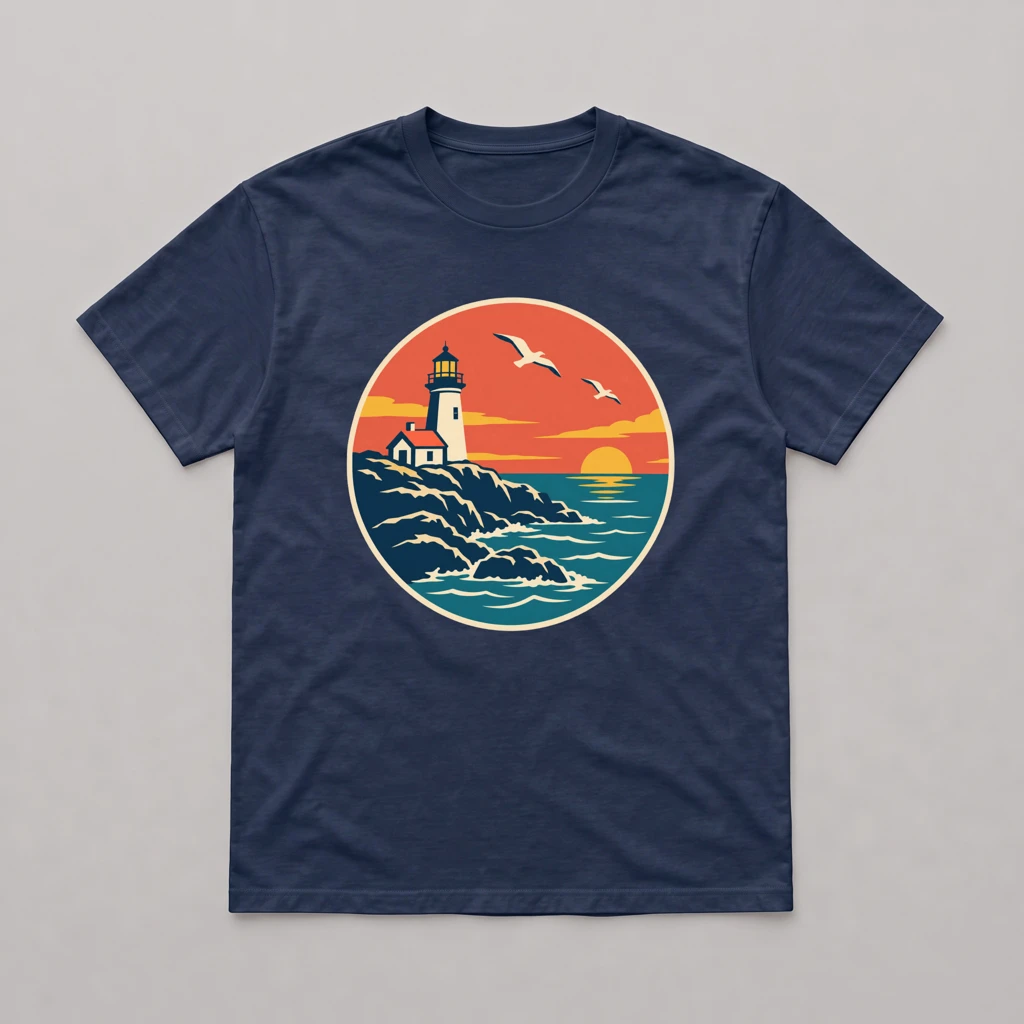 |
| Heather gray #989987 | 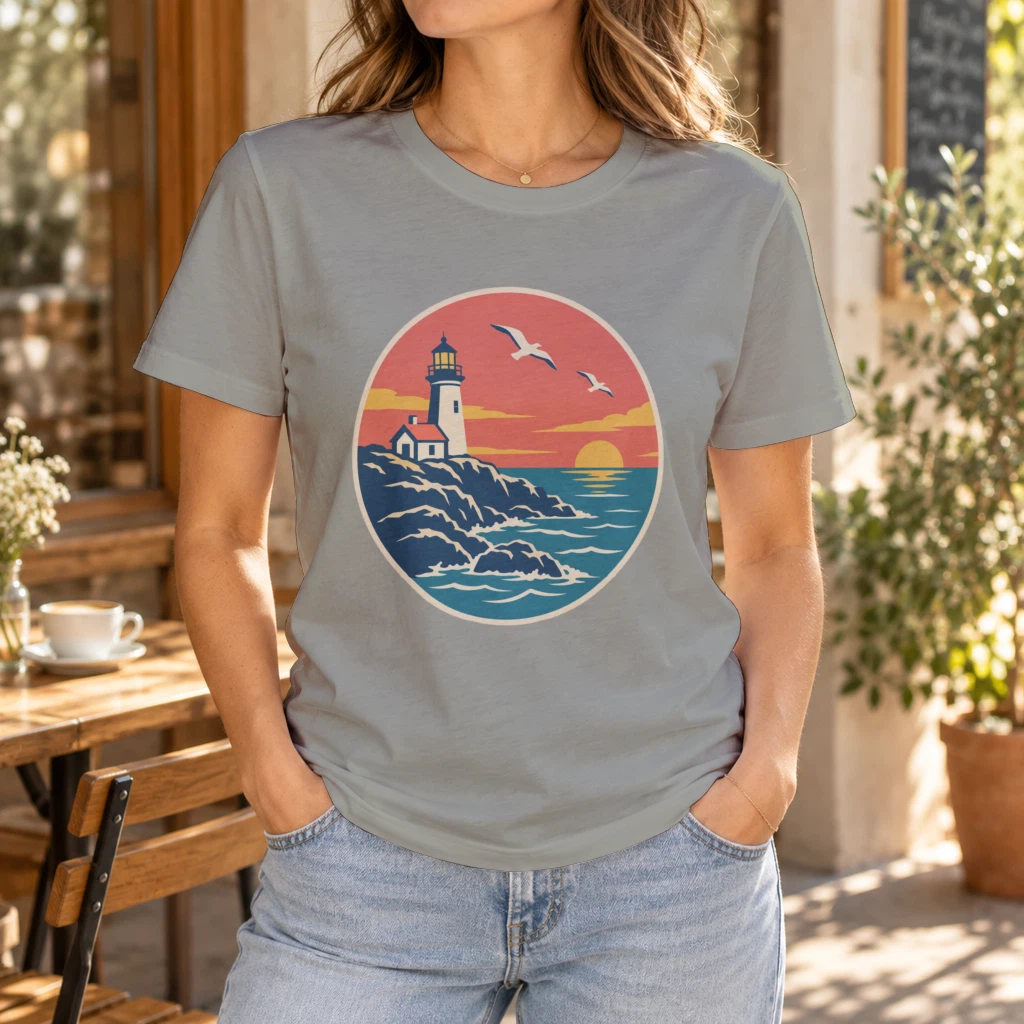 | 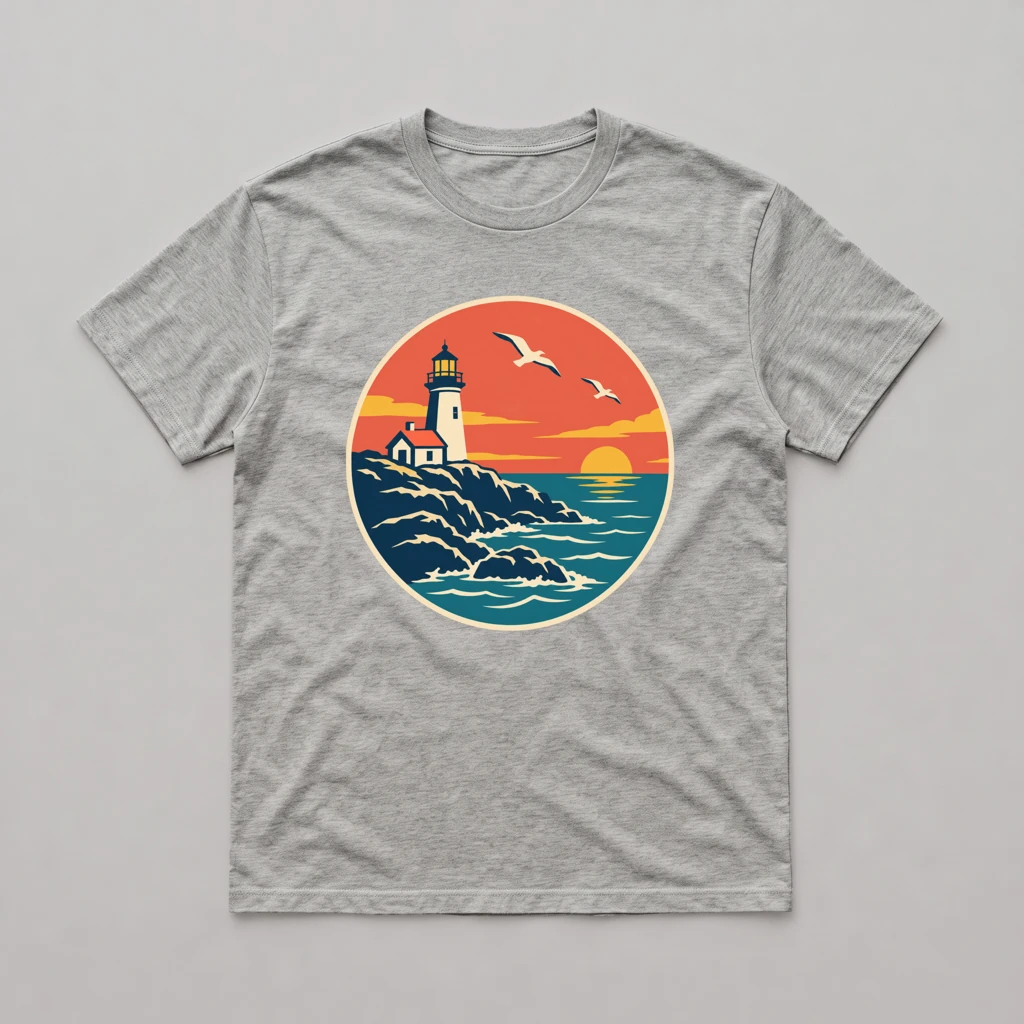 |
All six images are SudoMock renders made on October 6, 2026, at 1024 px WebP. The lighthouse design and the flat-lay product photos were generated for this example.
Keep the same views in the same order for every color. A shopper who switches from navy to white then compares like with like.
Render the main image from your PSD
Each color's main image is one render of the same t-shirt PSD, with the design in its print smart object and the color's hex in its color smart object (how that template is set up). This is the request that made the navy image, with the design URL as a placeholder:
curl -X POST https://api.sudomock.com/api/v1/renders \-H "x-api-key: $SUDOMOCK_API_KEY" \-H "Content-Type: application/json" \-d '{"mockup_uuid": "e532c503-fe20-4653-a301-af9f7a934609","smart_objects": [{ "uuid": "39865245-8d99-42e9-b1fc-3713fa4dbc94","asset": { "url": "https://example.com/designs/lighthouse.webp", "fit": "fit" } },{ "uuid": "ea565e8a-2b2b-46a1-b181-ff19d0e18eac","color": { "hex": "#1E293B", "blending_mode": "multiply" } }],"export_options": { "image_format": "webp", "image_size": 1024 },"export_label": "tee-navy"}'
const response = await fetch('https://api.sudomock.com/api/v1/renders', {method: 'POST',headers: {'x-api-key': process.env.SUDOMOCK_API_KEY,'Content-Type': 'application/json',},body: JSON.stringify({"mockup_uuid": "e532c503-fe20-4653-a301-af9f7a934609","smart_objects": [{"uuid": "39865245-8d99-42e9-b1fc-3713fa4dbc94","asset": {"url": "https://example.com/designs/lighthouse.webp","fit": "fit"}},{"uuid": "ea565e8a-2b2b-46a1-b181-ff19d0e18eac","color": {"hex": "#1E293B","blending_mode": "multiply"}}],"export_options": {"image_format": "webp","image_size": 1024},"export_label": "tee-navy"}),});const data = await response.json();console.log(data);
import osimport requestsresponse = requests.post("https://api.sudomock.com/api/v1/renders",headers={"x-api-key": os.environ["SUDOMOCK_API_KEY"],"Content-Type": "application/json",},json={"mockup_uuid": "e532c503-fe20-4653-a301-af9f7a934609","smart_objects": [{"uuid": "39865245-8d99-42e9-b1fc-3713fa4dbc94","asset": {"url": "https://example.com/designs/lighthouse.webp","fit": "fit",},},{"uuid": "ea565e8a-2b2b-46a1-b181-ff19d0e18eac","color": {"hex": "#1E293B","blending_mode": "multiply",},},],"export_options": {"image_format": "webp","image_size": 1024,},"export_label": "tee-navy",},)print(response.json())
package mainimport ("bytes""fmt""io""net/http""os")func main() {payload := []byte(`{"mockup_uuid": "e532c503-fe20-4653-a301-af9f7a934609","smart_objects": [{"uuid": "39865245-8d99-42e9-b1fc-3713fa4dbc94","asset": {"url": "https://example.com/designs/lighthouse.webp","fit": "fit"}},{"uuid": "ea565e8a-2b2b-46a1-b181-ff19d0e18eac","color": {"hex": "#1E293B","blending_mode": "multiply"}}],"export_options": {"image_format": "webp","image_size": 1024},"export_label": "tee-navy"}`)req, err := http.NewRequest("POST", "https://api.sudomock.com/api/v1/renders", bytes.NewBuffer(payload))if err != nil {panic(err)}req.Header.Set("x-api-key", os.Getenv("SUDOMOCK_API_KEY"))req.Header.Set("Content-Type", "application/json")resp, err := http.DefaultClient.Do(req)if err != nil {panic(err)}defer resp.Body.Close()body, _ := io.ReadAll(resp.Body)fmt.Println(string(body))}
<?php$payload = <<<'JSON'{"mockup_uuid": "e532c503-fe20-4653-a301-af9f7a934609","smart_objects": [{"uuid": "39865245-8d99-42e9-b1fc-3713fa4dbc94","asset": {"url": "https://example.com/designs/lighthouse.webp","fit": "fit"}},{"uuid": "ea565e8a-2b2b-46a1-b181-ff19d0e18eac","color": {"hex": "#1E293B","blending_mode": "multiply"}}],"export_options": {"image_format": "webp","image_size": 1024},"export_label": "tee-navy"}JSON;$ch = curl_init('https://api.sudomock.com/api/v1/renders');curl_setopt_array($ch, [CURLOPT_CUSTOMREQUEST => 'POST',CURLOPT_RETURNTRANSFER => true,CURLOPT_HTTPHEADER => ['x-api-key: ' . getenv('SUDOMOCK_API_KEY'),'Content-Type: application/json',],CURLOPT_POSTFIELDS => $payload,]);$response = curl_exec($ch);curl_close($ch);echo $response;
Replace the three UUIDs with the ones your upload returned. The image URL comes back in data.print_files[0].export_path, and image_size goes up to 10,000 px when the gallery should zoom. White and heather gray are the same request with another hex and label.
Render the gallery images from product photos
A gallery view does not need its own PSD. A product photo becomes a reusable mockup with one request, and each render then places the design on it. The flat lays above are three photo mockups, one per color, each with its print area drawn where a front print sits on a standard tee.
The photo mockup render takes the print area's uuid and the design URL:
curl -X POST https://api.sudomock.com/api/v1/photo-mockups/600bf574-07f8-4664-bbd0-5777a17cc79f/render \-H "x-api-key: $SUDOMOCK_API_KEY" \-H "Content-Type: application/json" \-d '{"print_areas": [{ "uuid": "29332b32-26dc-40cf-a451-ce30e0719eb9","artwork_url": "https://example.com/designs/lighthouse-front.webp","adjustments": { "blend_mode": "normal" } }],"export_options": { "image_format": "webp", "image_size": 1024 }}'
const response = await fetch('https://api.sudomock.com/api/v1/photo-mockups/600bf574-07f8-4664-bbd0-5777a17cc79f/render', {method: 'POST',headers: {'x-api-key': process.env.SUDOMOCK_API_KEY,'Content-Type': 'application/json',},body: JSON.stringify({"print_areas": [{"uuid": "29332b32-26dc-40cf-a451-ce30e0719eb9","artwork_url": "https://example.com/designs/lighthouse-front.webp","adjustments": {"blend_mode": "normal"}}],"export_options": {"image_format": "webp","image_size": 1024}}),});const data = await response.json();console.log(data);
import osimport requestsresponse = requests.post("https://api.sudomock.com/api/v1/photo-mockups/600bf574-07f8-4664-bbd0-5777a17cc79f/render",headers={"x-api-key": os.environ["SUDOMOCK_API_KEY"],"Content-Type": "application/json",},json={"print_areas": [{"uuid": "29332b32-26dc-40cf-a451-ce30e0719eb9","artwork_url": "https://example.com/designs/lighthouse-front.webp","adjustments": {"blend_mode": "normal",},},],"export_options": {"image_format": "webp","image_size": 1024,},},)print(response.json())
package mainimport ("bytes""fmt""io""net/http""os")func main() {payload := []byte(`{"print_areas": [{"uuid": "29332b32-26dc-40cf-a451-ce30e0719eb9","artwork_url": "https://example.com/designs/lighthouse-front.webp","adjustments": {"blend_mode": "normal"}}],"export_options": {"image_format": "webp","image_size": 1024}}`)req, err := http.NewRequest("POST", "https://api.sudomock.com/api/v1/photo-mockups/600bf574-07f8-4664-bbd0-5777a17cc79f/render", bytes.NewBuffer(payload))if err != nil {panic(err)}req.Header.Set("x-api-key", os.Getenv("SUDOMOCK_API_KEY"))req.Header.Set("Content-Type", "application/json")resp, err := http.DefaultClient.Do(req)if err != nil {panic(err)}defer resp.Body.Close()body, _ := io.ReadAll(resp.Body)fmt.Println(string(body))}
<?php$payload = <<<'JSON'{"print_areas": [{"uuid": "29332b32-26dc-40cf-a451-ce30e0719eb9","artwork_url": "https://example.com/designs/lighthouse-front.webp","adjustments": {"blend_mode": "normal"}}],"export_options": {"image_format": "webp","image_size": 1024}}JSON;$ch = curl_init('https://api.sudomock.com/api/v1/photo-mockups/600bf574-07f8-4664-bbd0-5777a17cc79f/render');curl_setopt_array($ch, [CURLOPT_CUSTOMREQUEST => 'POST',CURLOPT_RETURNTRANSFER => true,CURLOPT_HTTPHEADER => ['x-api-key: ' . getenv('SUDOMOCK_API_KEY'),'Content-Type: application/json',],CURLOPT_POSTFIELDS => $payload,]);$response = curl_exec($ch);curl_close($ch);echo $response;
On a dark garment, normal keeps the print's colors as designed. The response carries the image URL in the same place, data.print_files[0].export_path. To make your own, create a mockup from a product photo and read the print area IDs from its response.
Upload each render to the media library
gallery_image_ids holds attachment IDs, so every render has to be in the WordPress media library before a variation can use it. The WordPress REST API takes the file in a POST to /wp/v2/media and answers with the new attachment's id. Download the export_path file first, then send its bytes:
curl -X POST https://example.com/wp-json/wp/v2/media \-u "$WP_USER:$WP_APP_PASSWORD" \-H "Content-Disposition: attachment; filename=tee-navy-flat.webp" \-H "Content-Type: image/webp" \--data-binary @tee-navy-flat.webp
The credentials are an Application Password, which WordPress has shipped since version 5.6 and which you generate on the Edit User page in wp-admin. The media endpoint also accepts an alt_text field, which the upload above takes as a query parameter (/wp/v2/media?alt_text=navy%20t-shirt%20flat%20lay): describe the color and the view, so each image carries its own alt text in the store.
Set the main image and the gallery on each variation
One PUT per variation writes both fields. The image gets the on-model attachment and gallery_image_ids the gallery attachments, listed in the order the gallery should show them. Product 41, variation 57 and the attachment IDs are placeholders:
curl -X PUT https://example.com/wp-json/wc/v3/products/41/variations/57 \-u "$WC_CONSUMER_KEY:$WC_CONSUMER_SECRET" \-H "Content-Type: application/json" \-d '{ "image": { "id": 812 }, "gallery_image_ids": [813] }'
The response returns the variation with both fields, so you can check the IDs before moving to the next color. A GET on the same URL reads the gallery back later.
Fill a whole product at once
The batch endpoint updates many variations of one product in one request: WooCommerce's REST API documentation gives a default limit of 100 objects per batch. Collect the attachment IDs per color, then send one update entry per variation:
curl -X POST https://example.com/wp-json/wc/v3/products/41/variations/batch \-u "$WC_CONSUMER_KEY:$WC_CONSUMER_SECRET" \-H "Content-Type: application/json" \-d '{"update": [{ "id": 56, "image": { "id": 810 }, "gallery_image_ids": [811] },{ "id": 57, "image": { "id": 812 }, "gallery_image_ids": [813] },{ "id": 58, "image": { "id": 814 }, "gallery_image_ids": [815] }]}'
A new color later is the same chain for one variation: two renders, two uploads, one PUT. The average SudoMock render finishes in under a second. Plans start at $25/month. Subscriptions from $0.002 per render.
Without code, the same chain runs in n8n or Make: the SudoMock step renders, and HTTP steps make the media upload and the variation update shown above.
Next step
Render one color with the request above, upload it and PUT it on one variation. Once the IDs read back, send the batch for the rest. Start with Upload a PSD. With no PSD, take a template from the mockup library or create a mockup from a product photo. The t-shirt mockup use case covers the rest of an apparel listing.
Frequently asked questions
Does WooCommerce support multiple images per variation?
Yes. Since WooCommerce 11.1 every variation of a variable product has its own image gallery in core, next to its main image. Shoppers see the gallery of the color they pick, and no extension is needed.
What happened to the Additional Variation Images extension?
WooCommerce 11.1 deactivates the extension automatically when the store updates, because its feature is now part of core. Galleries made with it keep appearing through WooCommerce core. Stores that never used it have nothing to migrate.
Can I set variation gallery images through the REST API?
Yes. The wc/v3 product variation endpoint has a readable and writable gallery_image_ids field. A PUT to the variation with a list of attachment IDs sets its gallery, and the main image stays in the separate image field.
Can gallery_image_ids take image URLs?
No. The field holds attachment IDs only, so each image must be uploaded to the WordPress media library first. The media endpoint of the WordPress REST API returns the new attachment ID, which then goes into the list.
Sources
- Additional Variation Images included in WooCommerce 11.1 (opens in new tab), WooCommerce Developer Blog
- WooCommerce REST API Documentation (opens in new tab)
- Media | REST API Handbook (opens in new tab), WordPress Developer Resources
- Authentication | REST API Handbook (opens in new tab), WordPress Developer Resources
- Render a PSD mockup (opens in new tab)
- Render a photo mockup (opens in new tab)
- Create a mockup from a product photo (opens in new tab)
- Upload a PSD (opens in new tab)
Beck
CTO
Related articles
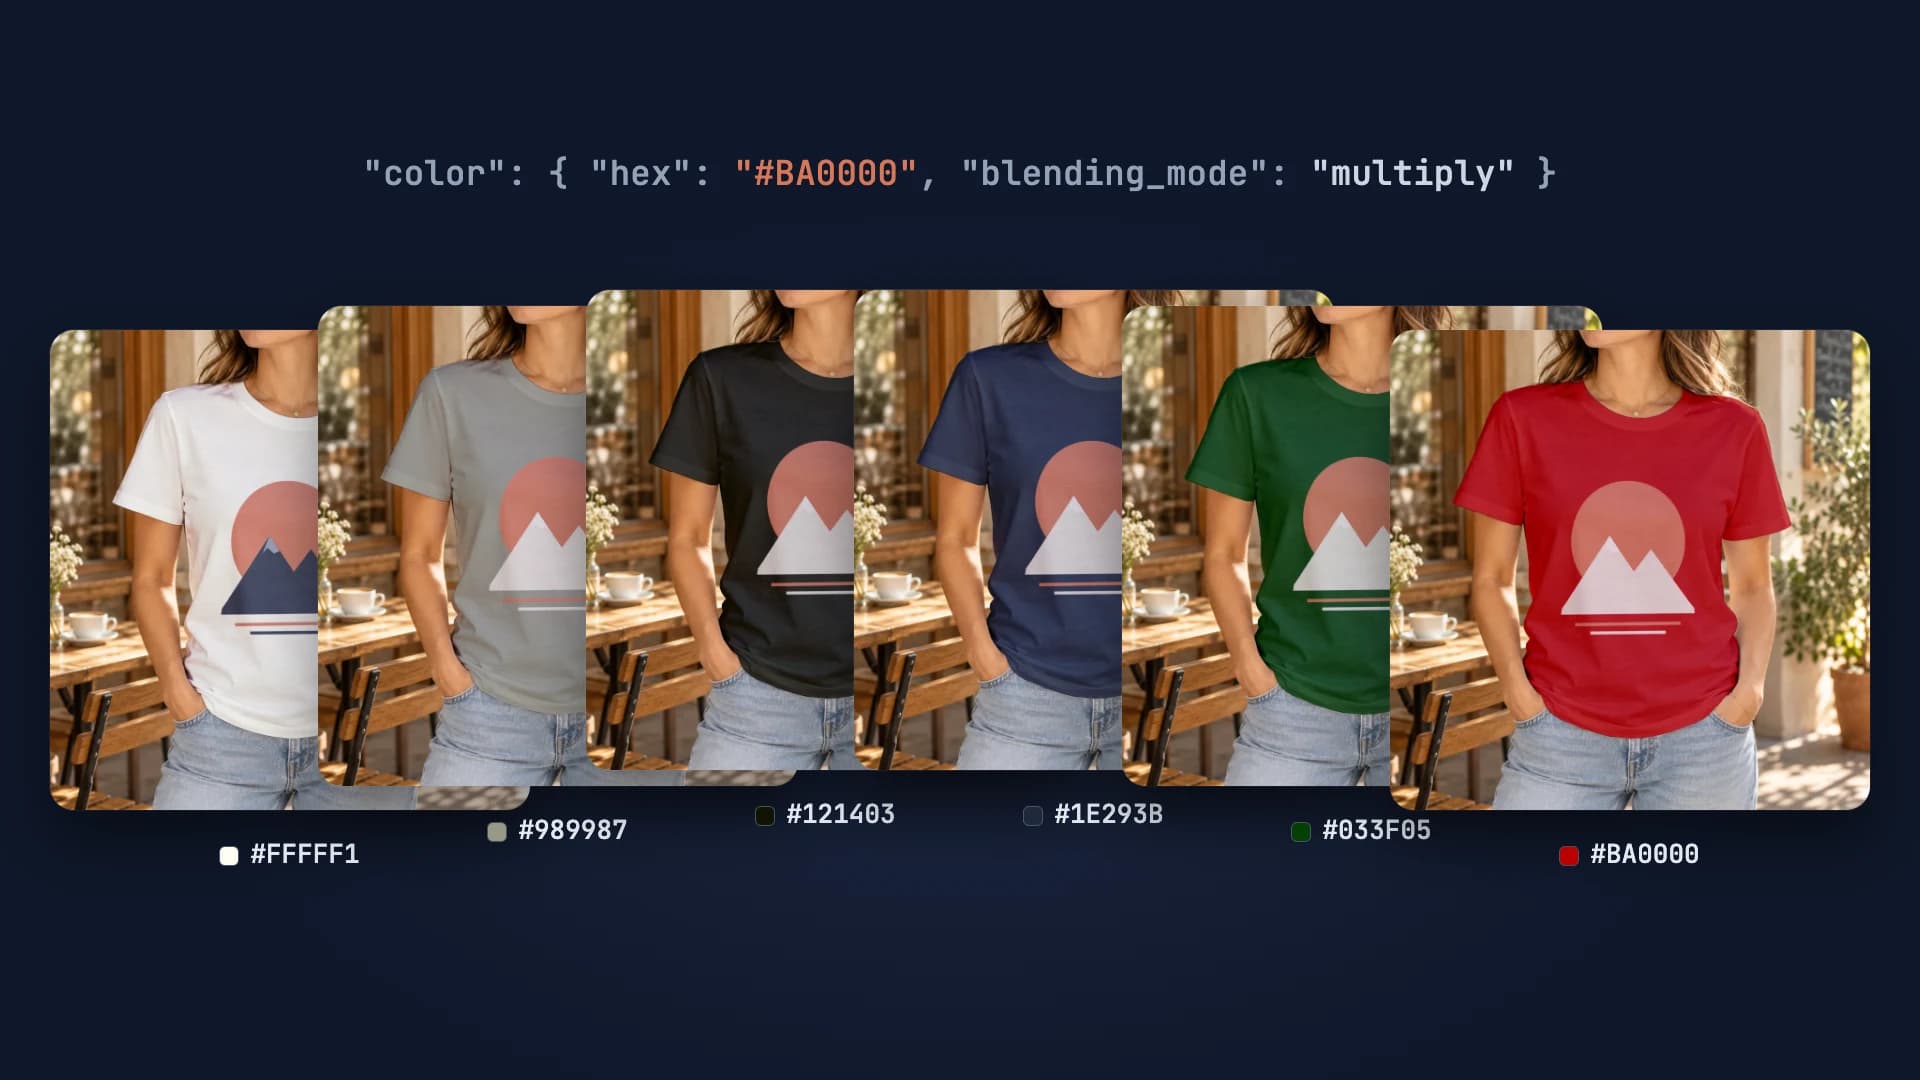
Every T-Shirt Color Variant Mockup from One PSD by API
One PSD with a color smart object renders every t-shirt colorway: one request per color, shown with six real renders.
4 min read
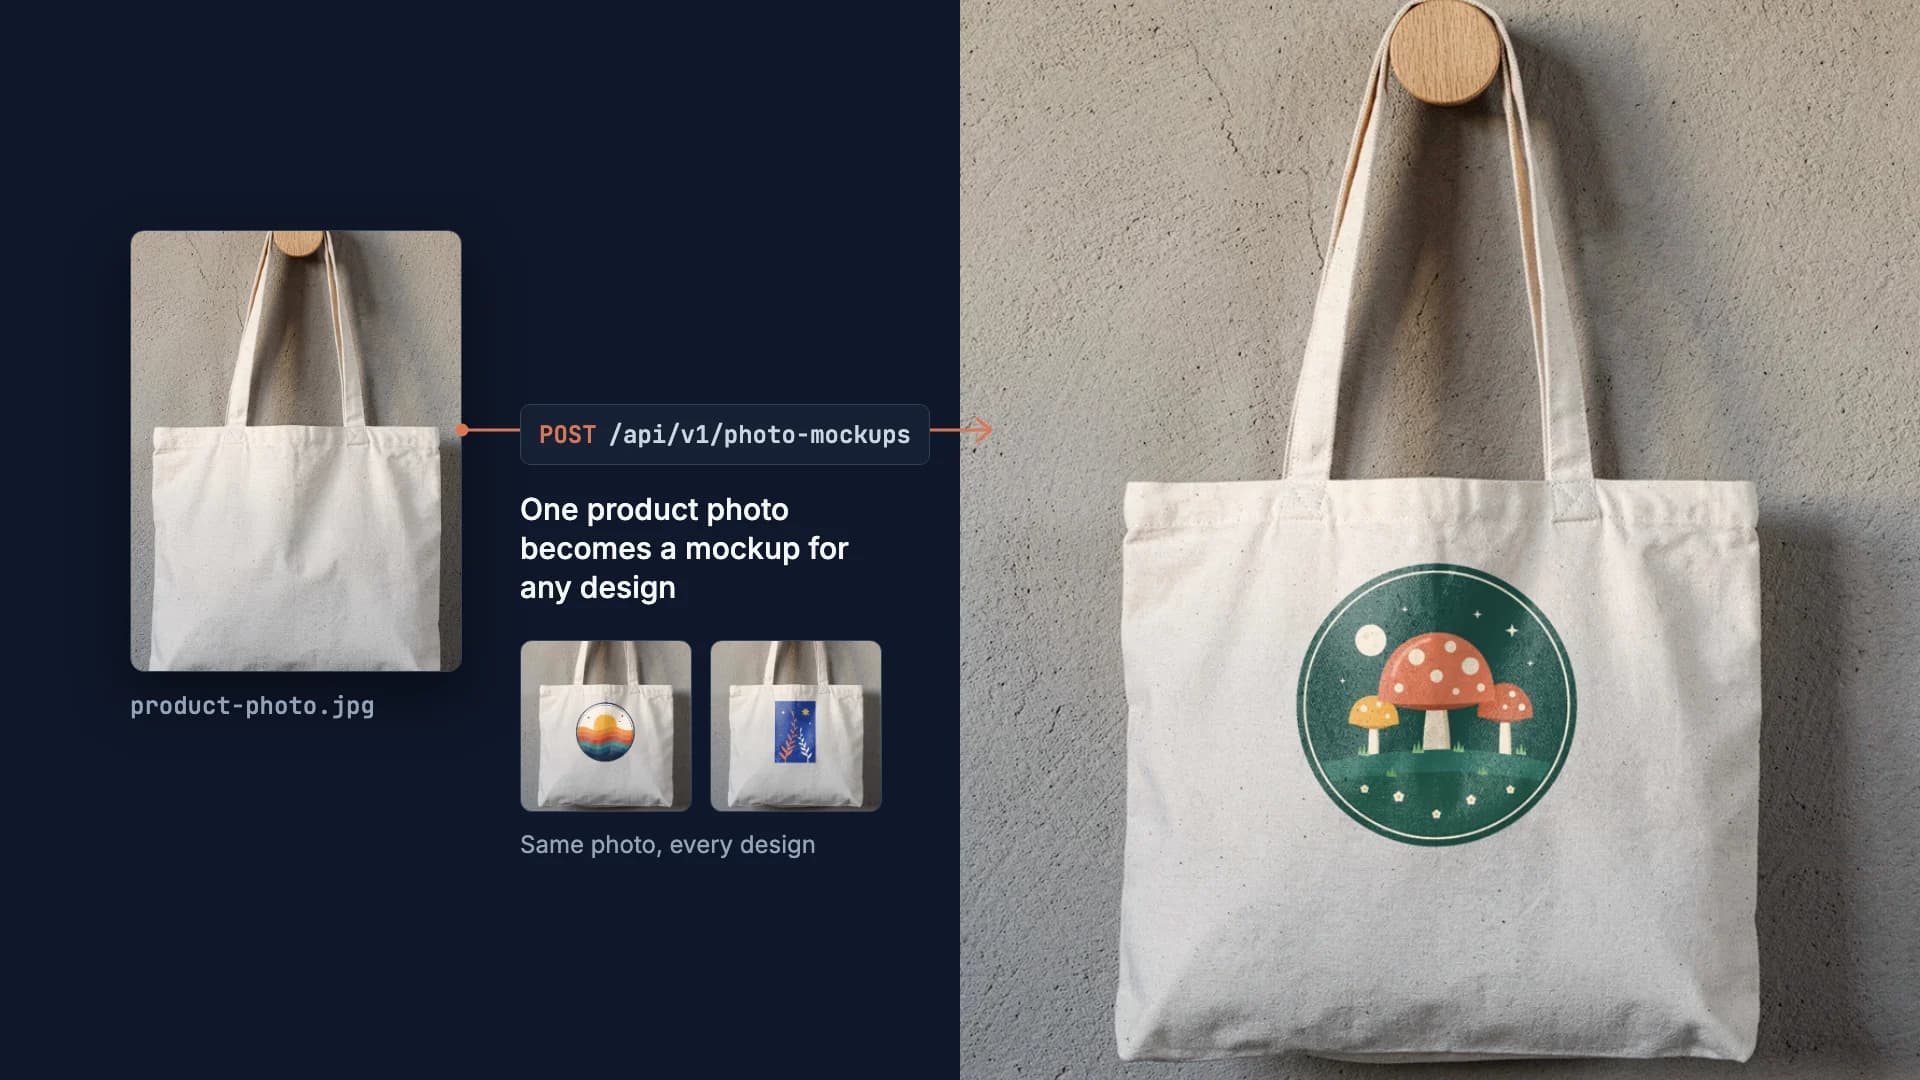
How to Make Your Own Mockup from Any Product Photo
One photo of your own product becomes a reusable mockup: the create call, the render call and real renders of four designs on a canvas tote.
7 min read
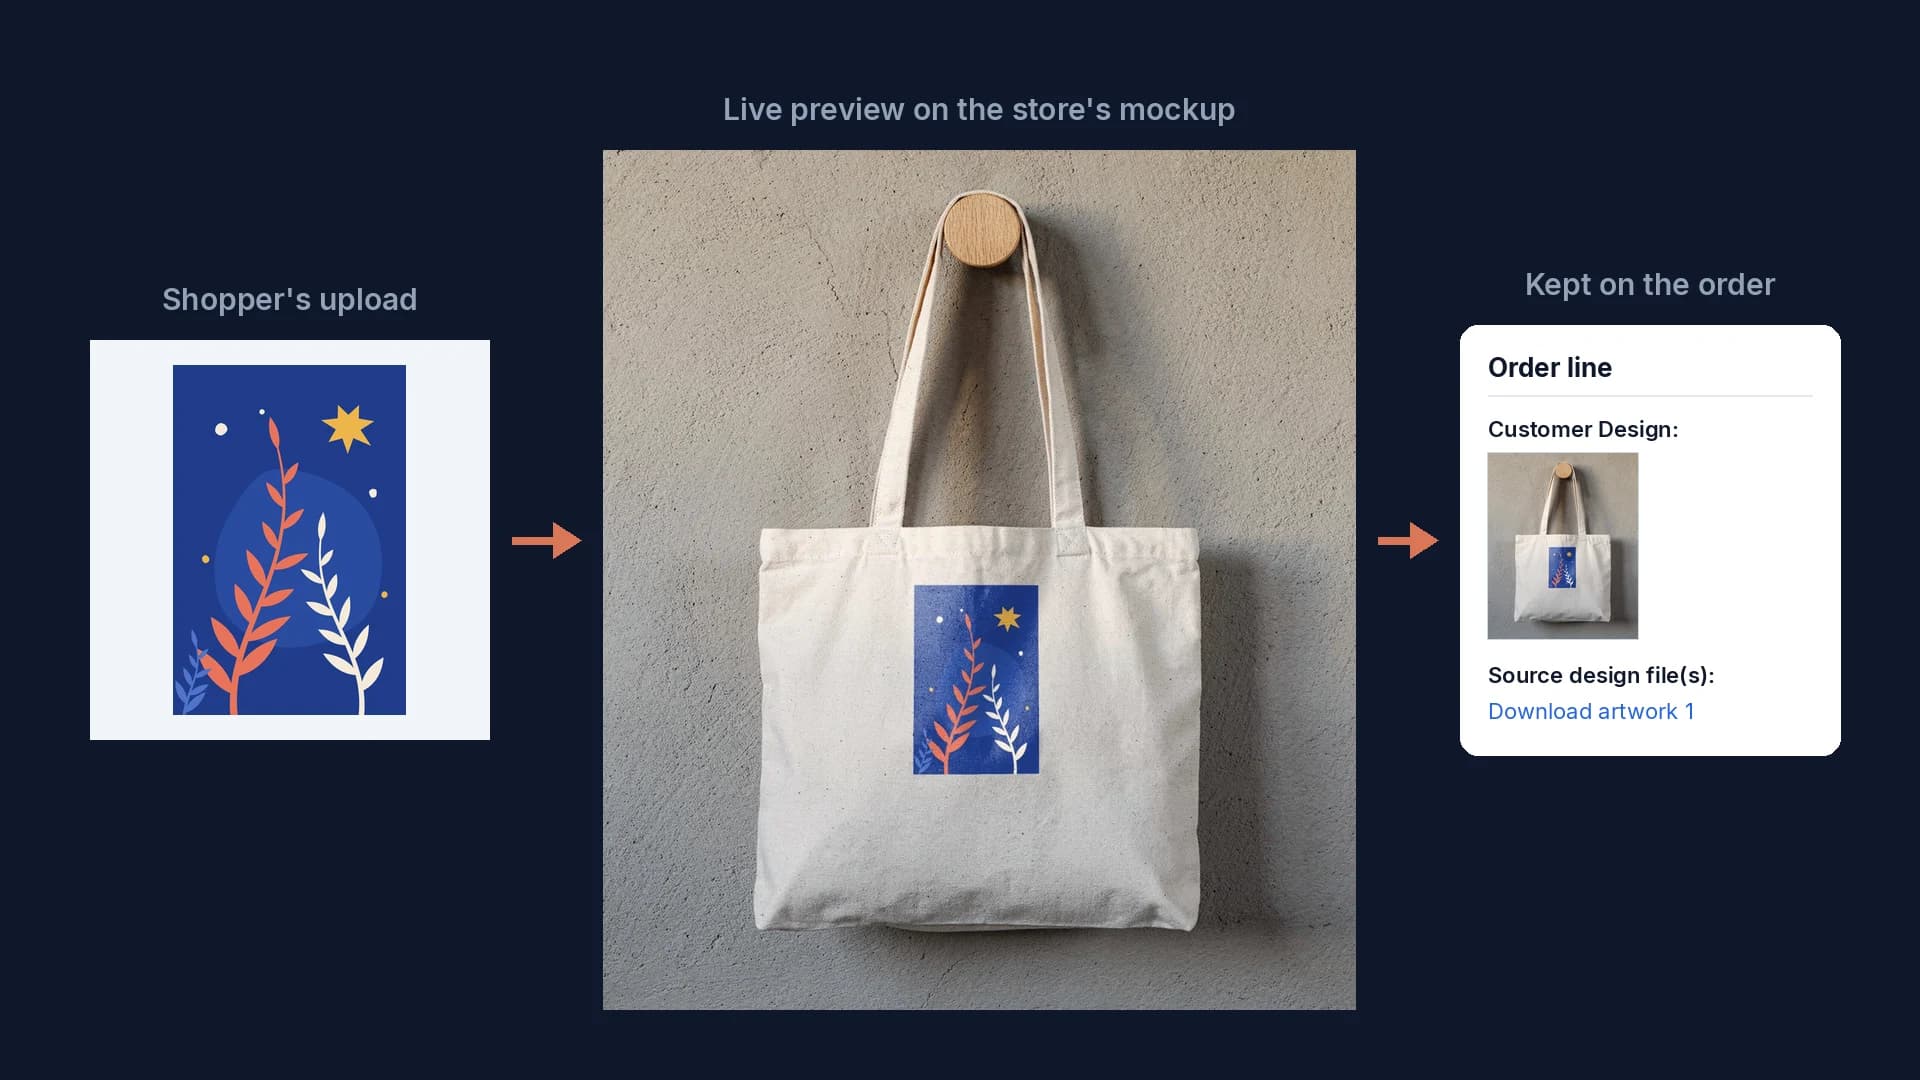
How to Add a Product Customizer to WooCommerce With a Live Preview
Four setup steps, a live preview rendered from your own mockup, and where the approved design and its source files land on each WooCommerce order.
7 min read
Your own PSD, rendered via API
Render your own PSD through the API. Start with 500 one-time credits, no card.