Every T-Shirt Color Variant Mockup from One PSD by API
To get every color of a t-shirt as its own listing image, the PSD needs two smart objects: one for the print and one that covers the garment for color. Each render request to the SudoMock API sends your design to the first and a hex value to the second. Six colors are six requests against the same template.
Published 4 min readBeck
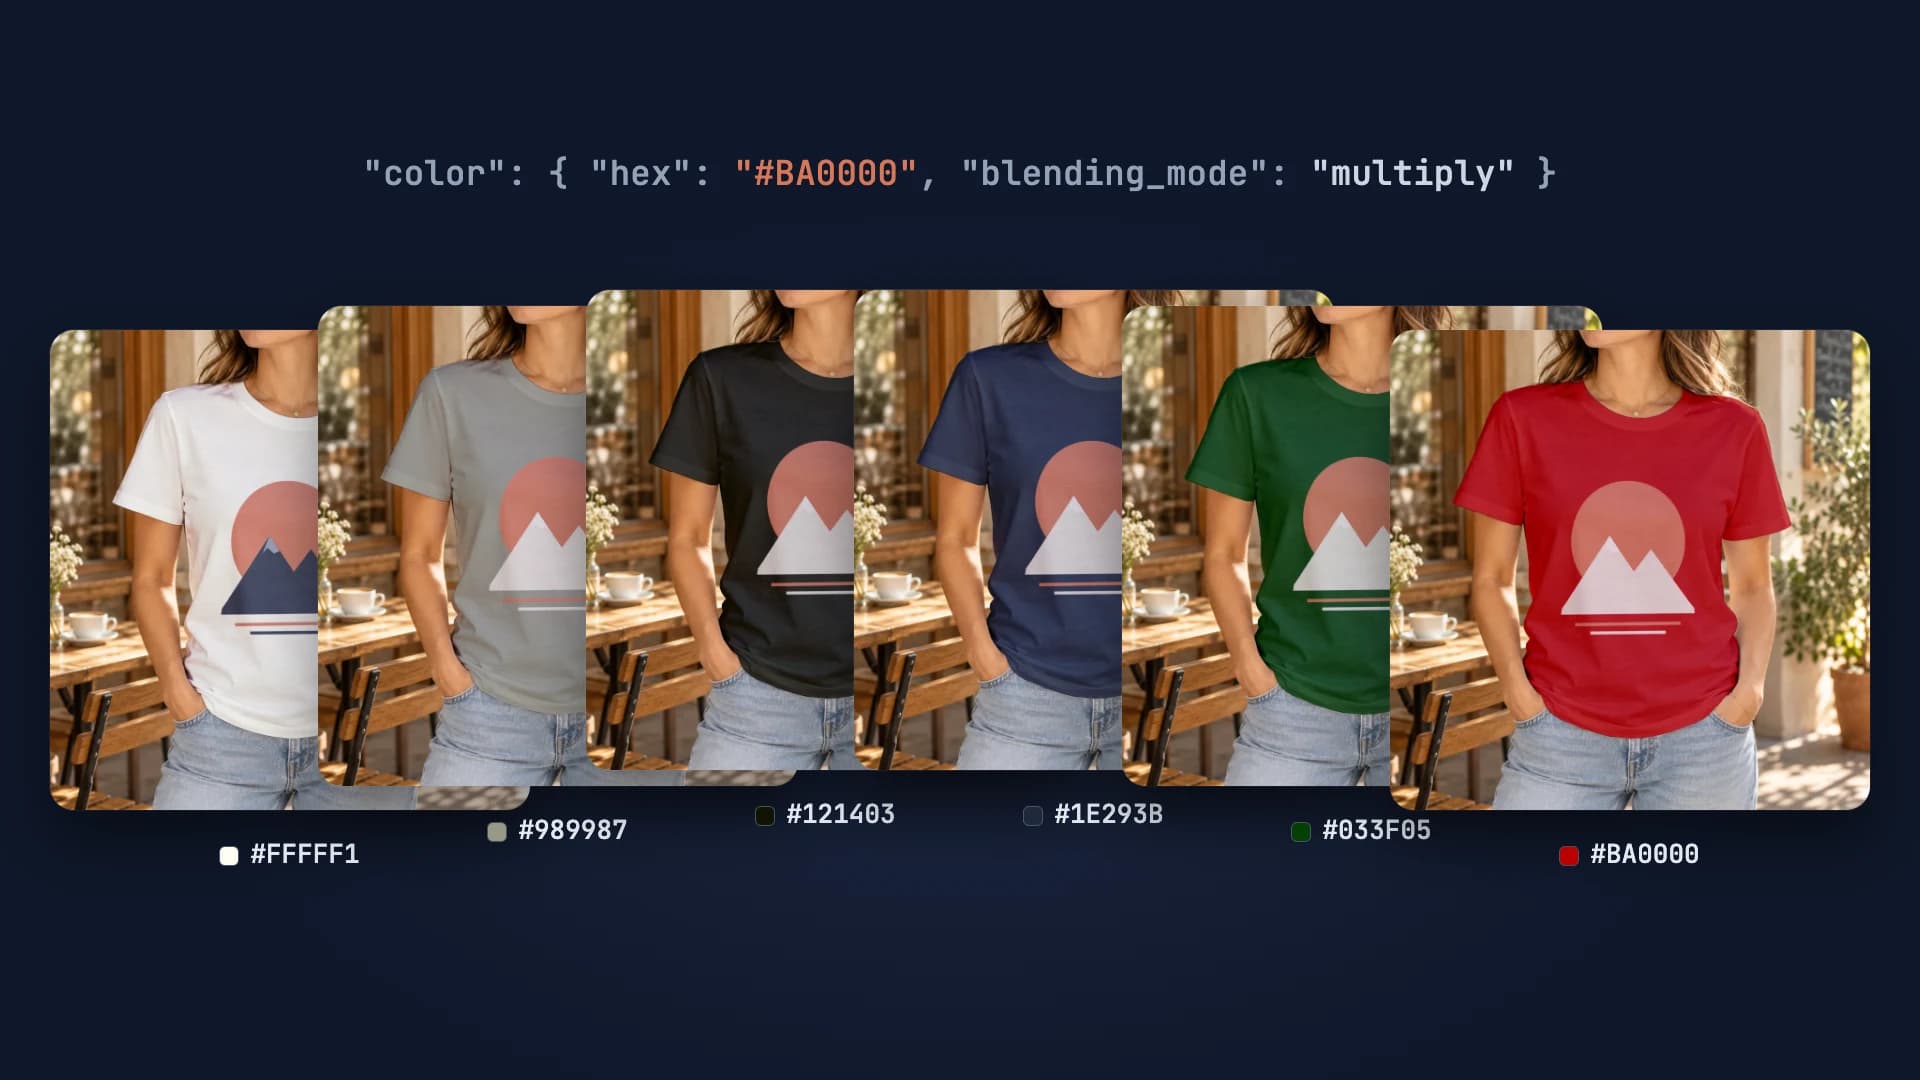
What the PSD needs
After upload, GET /api/v1/psd-mockups/{uuid} lists the template's smart objects. The t-shirt template used here returns two (position, size and thumbnails left out):
{"data": {"smart_objects": [{ "uuid": "ea565e8a-2b2b-46a1-b181-ff19d0e18eac", "name": "color", "blend_mode": "multiply" },{ "uuid": "39865245-8d99-42e9-b1fc-3713fa4dbc94", "name": "print_area", "blend_mode": "normal" }]}}
colorcovers the whole shirt and is set to Multiply in the file. Multiply is what keeps the folds and shadows of the fabric visible under the new color.print_areais where the design goes.
A template with only a print smart object renders any design you send, on the shirt color it was built with. For color variants, the template designer adds the color smart object in Photoshop before upload. The PSD template guide covers how to build and test the rest of the file.
The request
One render takes the design for print_area and a color for color. This is the request, with the asset URL as a placeholder:
curl -X POST https://api.sudomock.com/api/v1/renders \-H "x-api-key: $SUDOMOCK_API_KEY" \-H "Content-Type: application/json" \-d '{"mockup_uuid": "e532c503-fe20-4653-a301-af9f7a934609","smart_objects": [{ "uuid": "39865245-8d99-42e9-b1fc-3713fa4dbc94","asset": { "url": "https://example.com/designs/sunrise.svg", "fit": "fit" } },{ "uuid": "ea565e8a-2b2b-46a1-b181-ff19d0e18eac","color": { "hex": "#1E293B", "blending_mode": "multiply" } }],"export_options": { "image_format": "webp", "image_size": 1024 },"export_label": "tee-navy"}'
Use the UUIDs from your own upload response. The image URL comes back in data.print_files[0].export_path. For the whole color list, loop over it and change the hex, the label and, for light blanks, the design:
const colors = {white: ['#FFFFF1', darkInkDesignUrl],black: ['#121403', designUrl],navy: ['#1E293B', designUrl],red: ['#BA0000', designUrl],};for (const [name, [hex, url]] of Object.entries(colors)) {const res = await fetch('https://api.sudomock.com/api/v1/renders', {method: 'POST',headers: { 'x-api-key': process.env.SUDOMOCK_API_KEY, 'Content-Type': 'application/json' },body: JSON.stringify({mockup_uuid: MOCKUP_UUID,smart_objects: [{ uuid: PRINT_AREA_UUID, asset: { url, fit: 'fit' } },{ uuid: COLOR_UUID, color: { hex, blending_mode: 'multiply' } },],export_options: { image_format: 'webp', image_size: 1024 },export_label: `tee-${name}`,}),});const { data } = await res.json();console.log(name, data.print_files[0].export_path);}
What came back
Here is one design on six colors: white #FFFFF1, heather gray #989987, black #121403, navy #1E293B, forest green #033F05 and red #BA0000.
| White #FFFFF1 | Heather gray #989987 | Black #121403 |
|---|---|---|
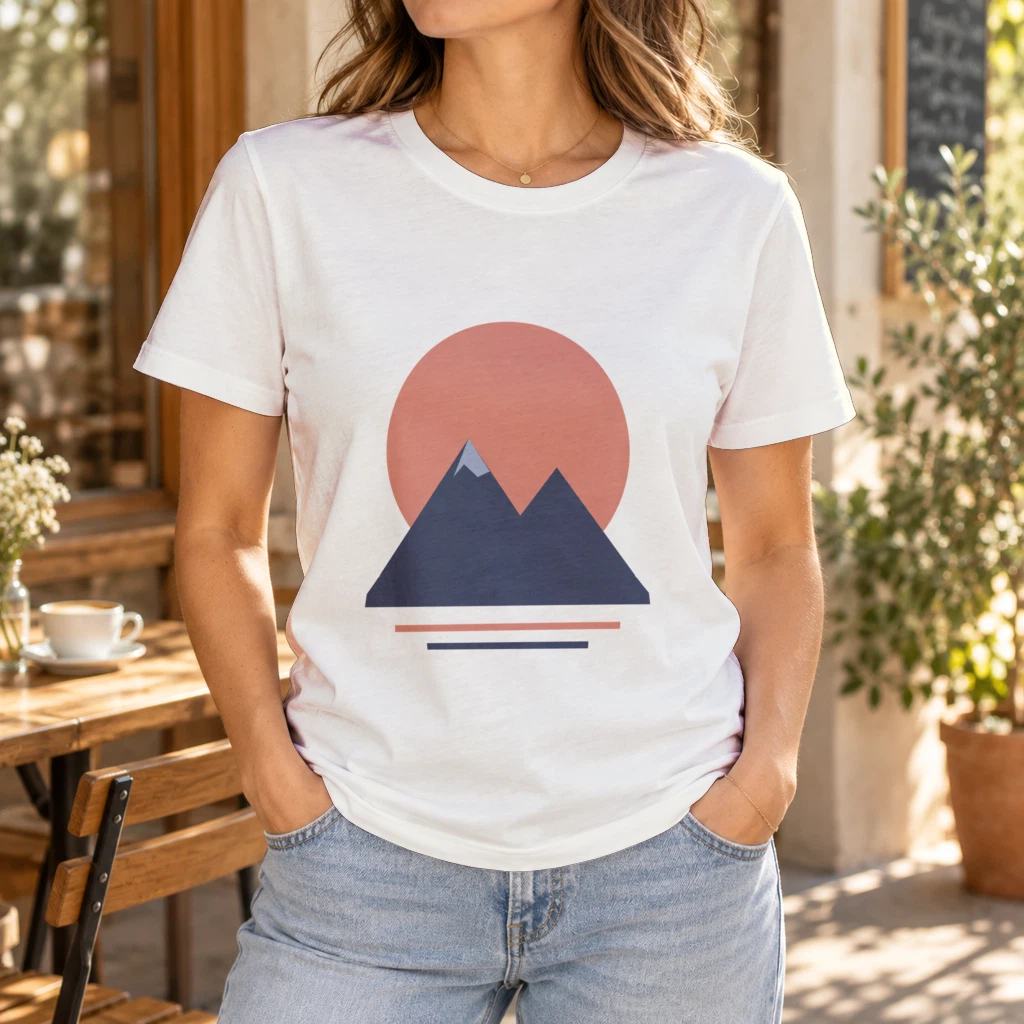 | 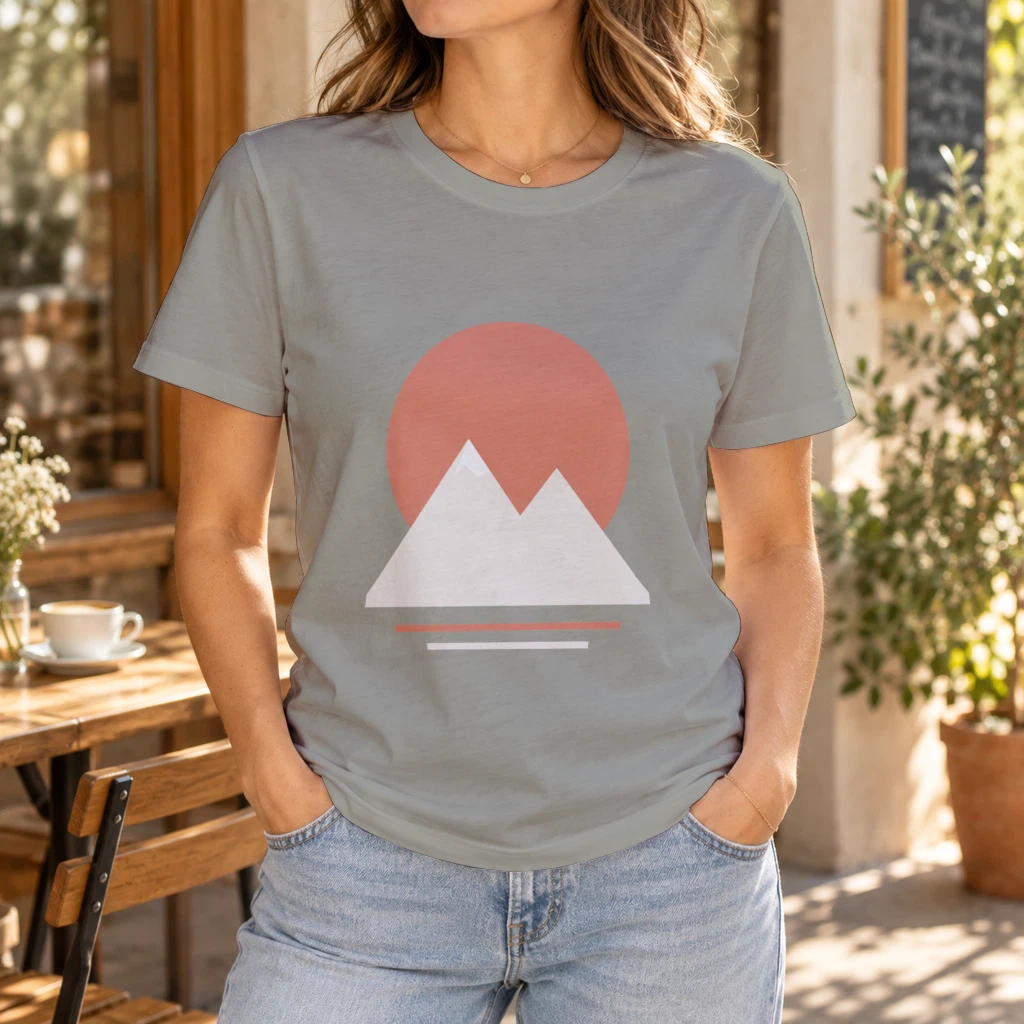 | 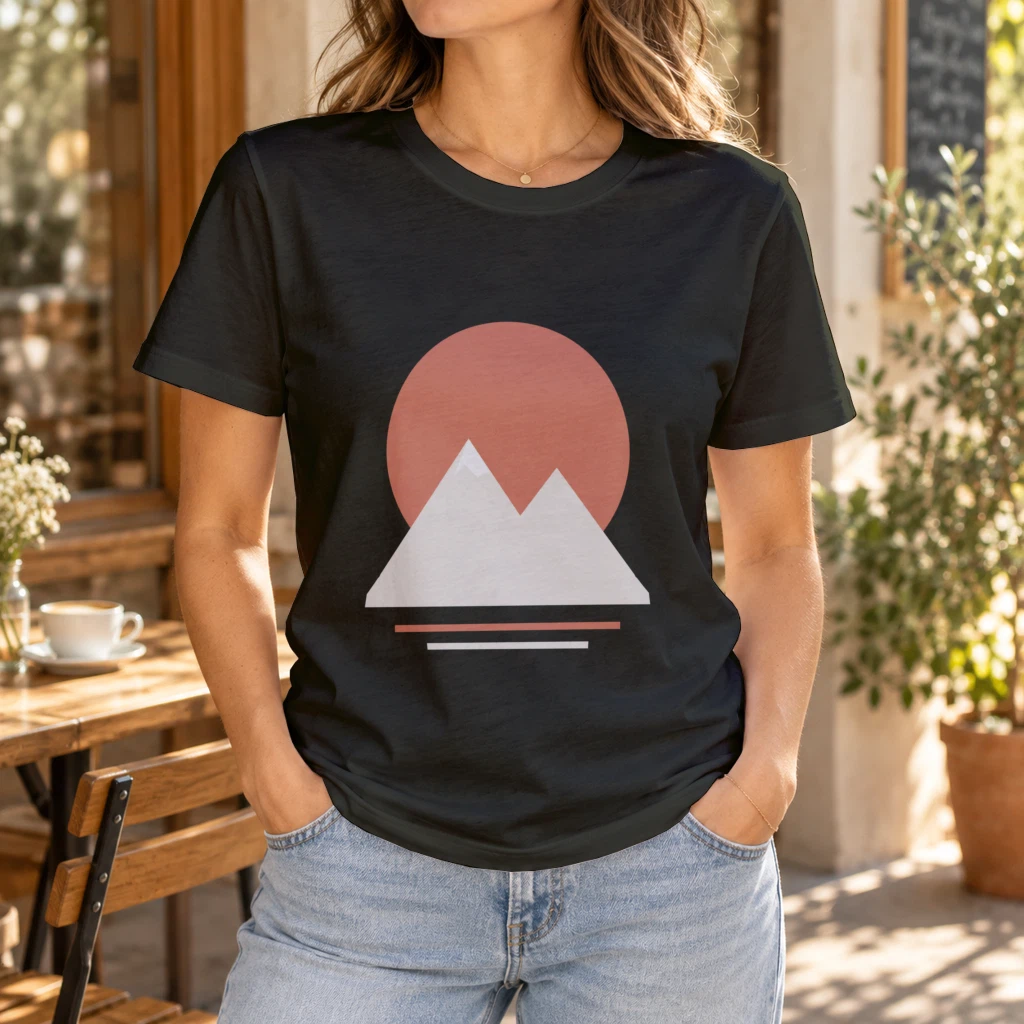 |
| Navy #1E293B | Forest green #033F05 | Red #BA0000 |
|---|---|---|
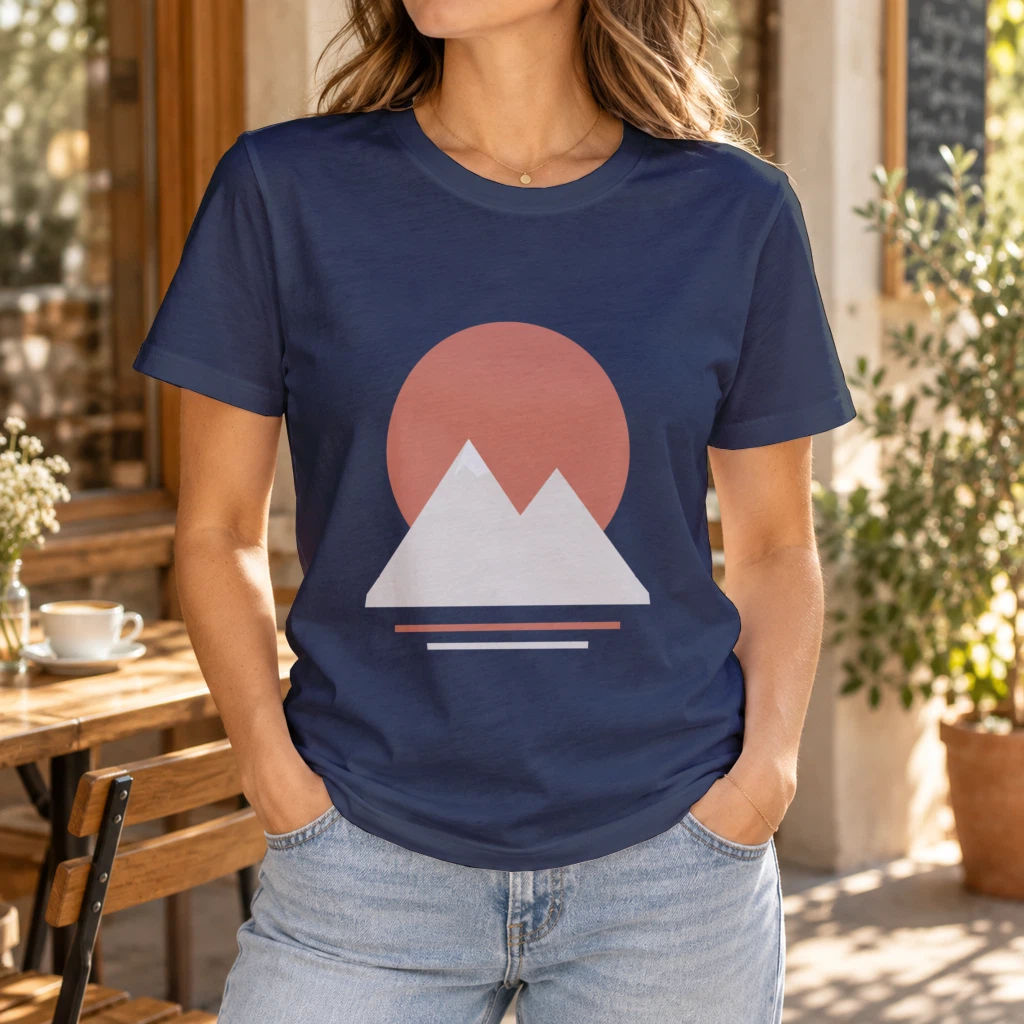 | 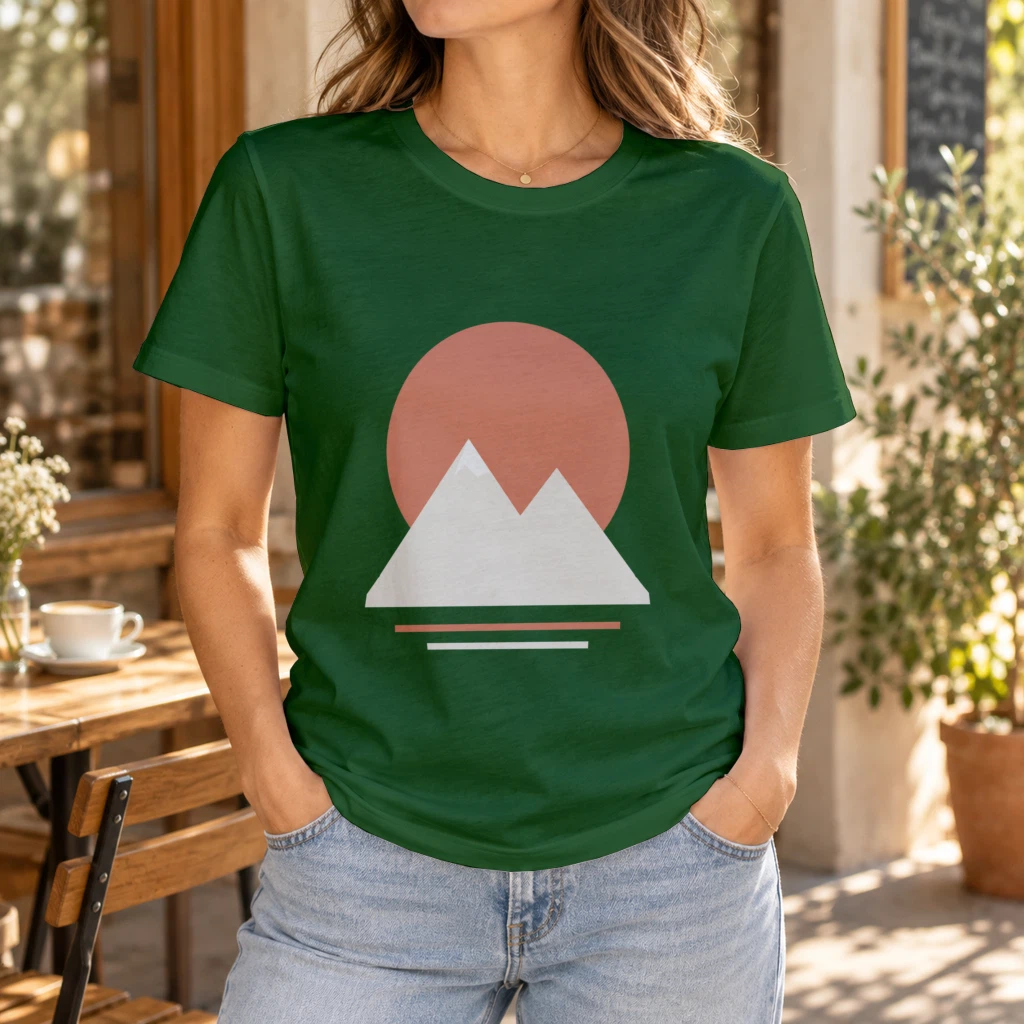 | 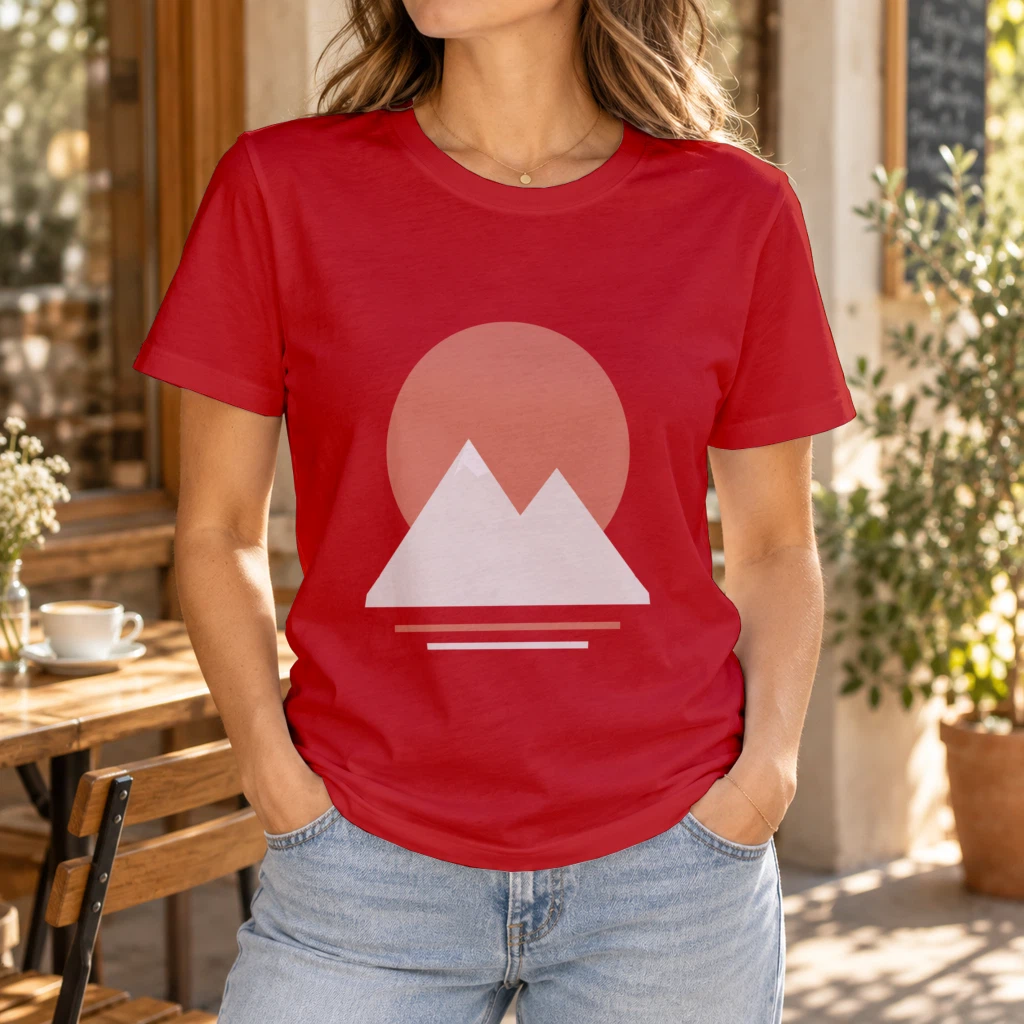 |
Same template, same request. Only color.hex changed, and the white shirt got the dark-ink artwork.
Artwork and hex values per blank
Light ink on a light blank. Cream ink reads on dark shirts and fades on white. Keep a dark-ink version of the design for light blanks and send it in the requests for those colors, as the white shirt above does.
Use your blank's colors. Take hex values from your blank supplier's color chart. The template's light and the fabric's shading carry through every color, so folds and shadows look like a real shirt.
Color names instead of hex codes
If your catalog already names its colors, save those names on the mockup once and render by name. PATCH /api/v1/psd-mockups/{uuid} takes a colors list of { "label", "hex" } pairs. The list replaces the saved palette, so send every color you want to keep.
{"colors": [{ "label": "heather gray", "hex": "#989987" },{ "label": "forest", "hex": "#033F05" }]}
Each render then sends "color": { "label": "forest", "blending_mode": "multiply" } in place of the hex. Labels match exactly. The fields follow the API reference for updating a PSD mockup.
Running the whole catalog
Every color of every design is one render, so 40 designs in 6 colors is 240 requests against one template. Renders run in parallel up to your plan's concurrency, and past that the API answers 429 with a Retry-After header. For a large batch, send "is_async": true and collect the finished images by polling GET /api/v1/jobs/{job_id} or from a webhook: a queued render holds no concurrency slot while it waits. The usage limits page explains how to read your limits at runtime instead of hardcoding them.
Plans start at $25/month. Subscriptions from $0.002 per render. image_size goes up to 10,000 px for print-ready listing images.
Next step
Upload your t-shirt PSD and check the response for a color smart object next to the print area. Then send each color on that smart object's own entry, exactly as in the request above. The t-shirt mockup use case shows where this fits in a full apparel listing workflow.
Sources
Beck
CTO
Related articles
Vibe Coding Your POD Business: Build Mockup Automation Without Writing Code
How to vibe code a print-on-demand mockup automation with Cursor or Replit: the tools, a starter prompt, four ideas to build next and the mistakes to avoid.
6 min read
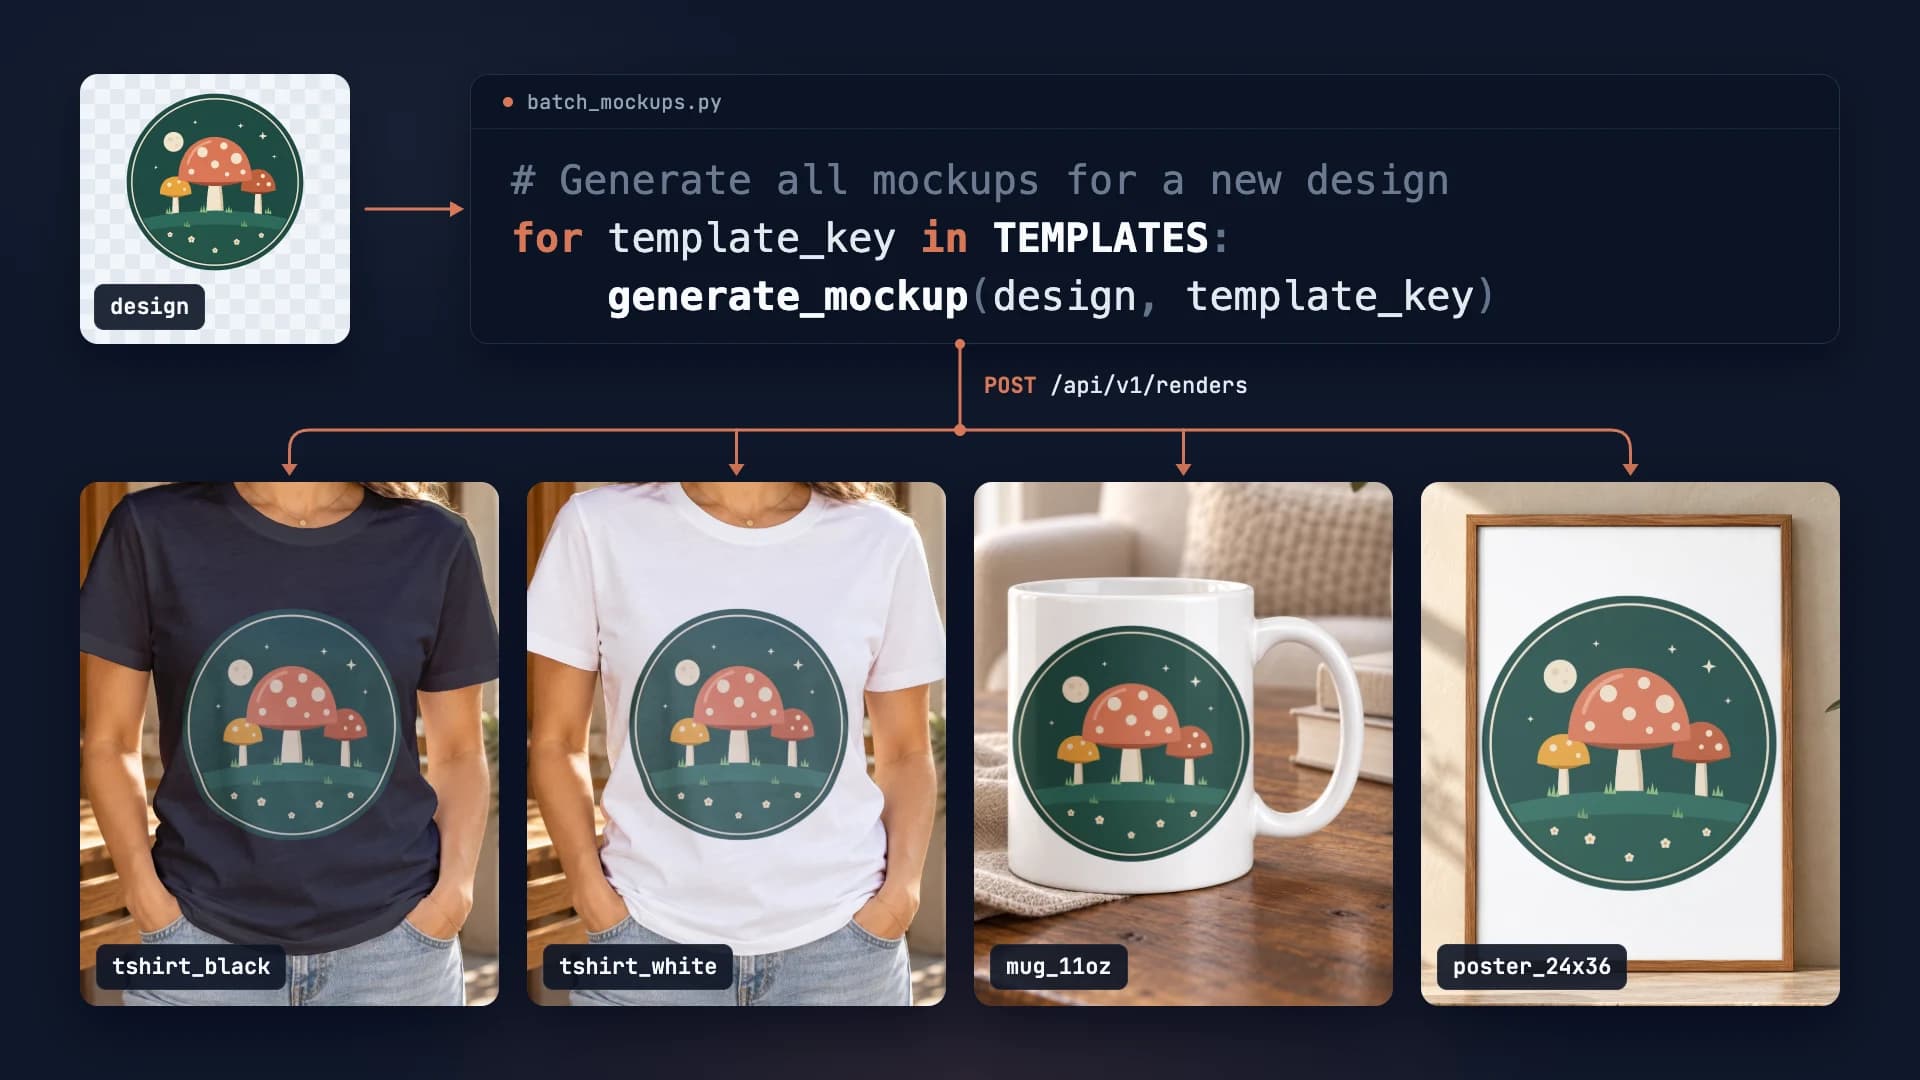
How to Automate Etsy Product Mockups in 2026
Step-by-step guide to automating your Etsy listing mockups with SudoMock API. Save hours of manual work.
2 min read
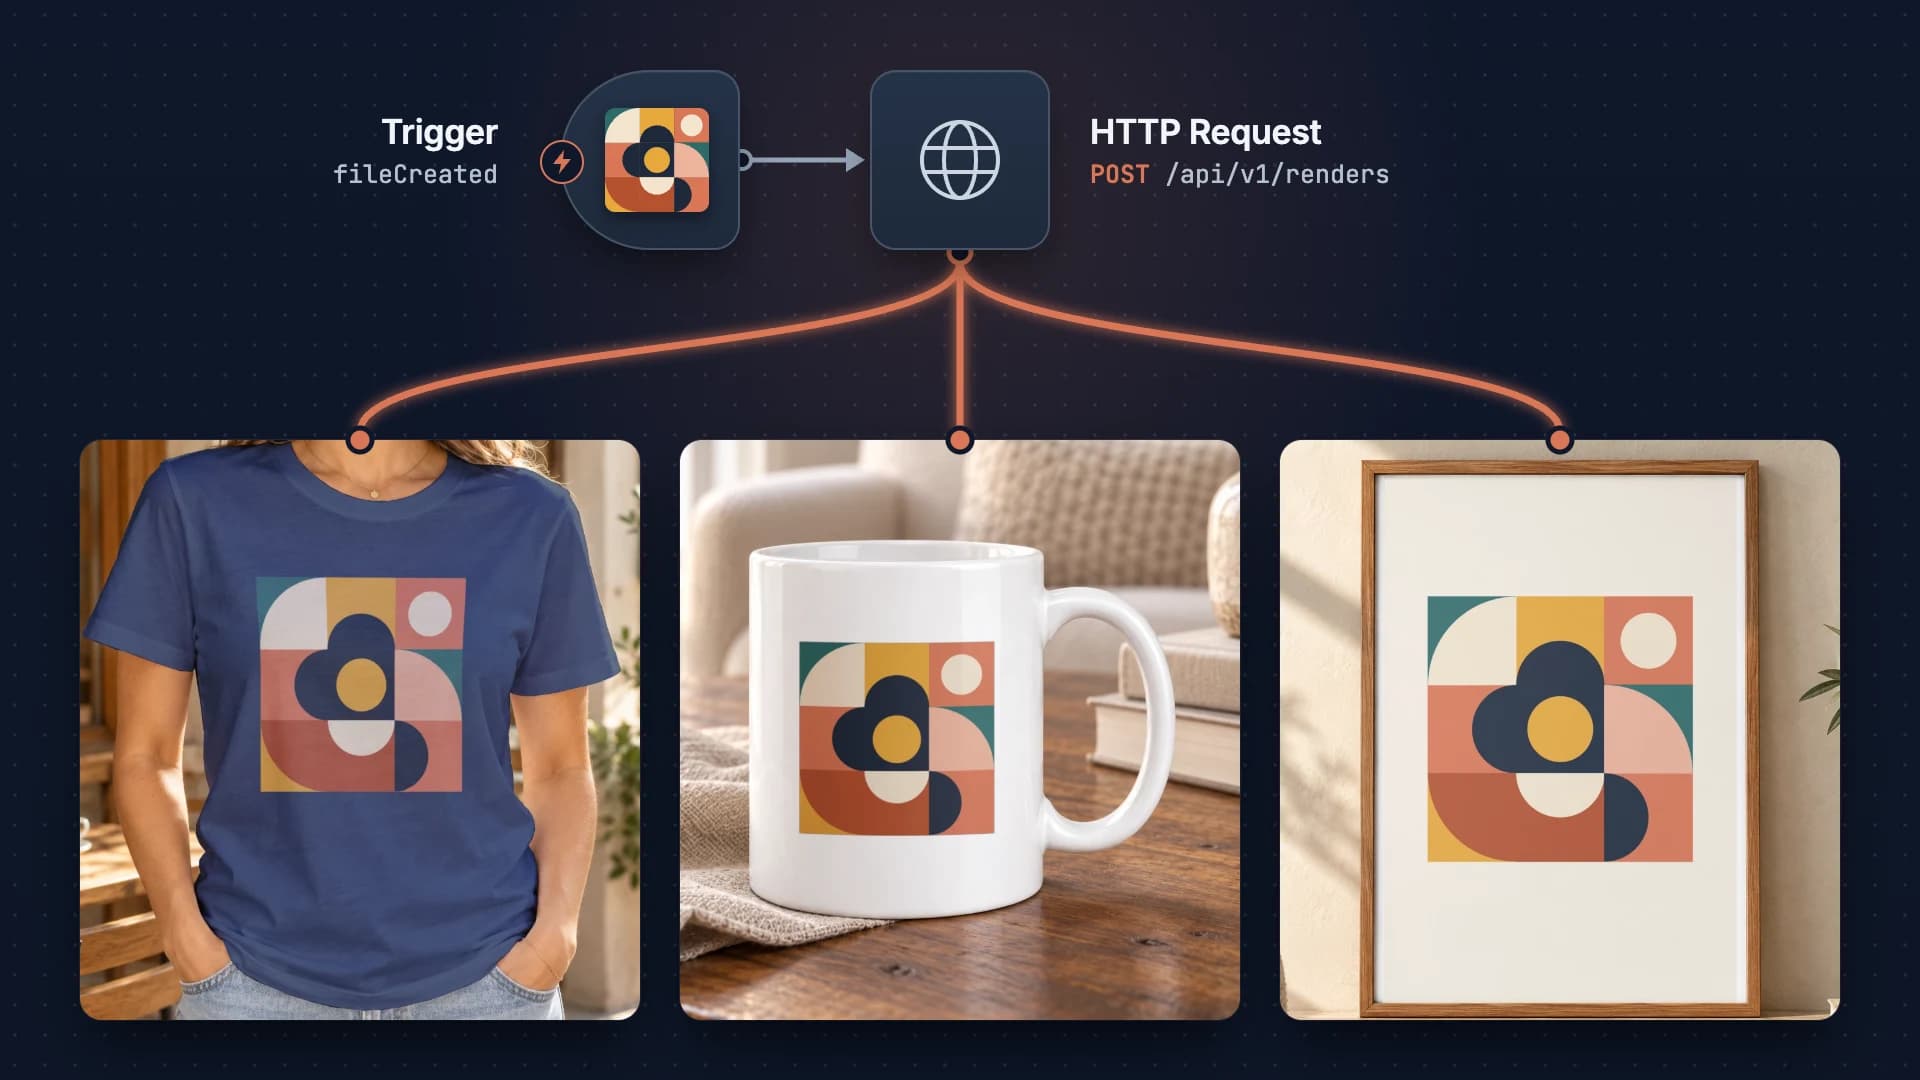
Building a Print-on-Demand Pipeline with n8n
Build an automated print-on-demand pipeline with n8n and SudoMock API. Step-by-step guide from design upload to Etsy/Shopify listing creation from $0.002 per render.
2 min read
Explore by use case
See SudoMock in action for your specific product category
Your own PSD, rendered via API
Render your own PSD through the API. Start with 500 one-time credits, no card.