How to Add a Product Customizer to Shopify With a Live Preview
Install a customizer app, map each product to its mockup and add the app's block to the product template in the theme editor. With SudoMock the shopper's live preview is a render of your own mockup, and each order line carries the id of the exact render the shopper approved.
Published 6 min readBeck
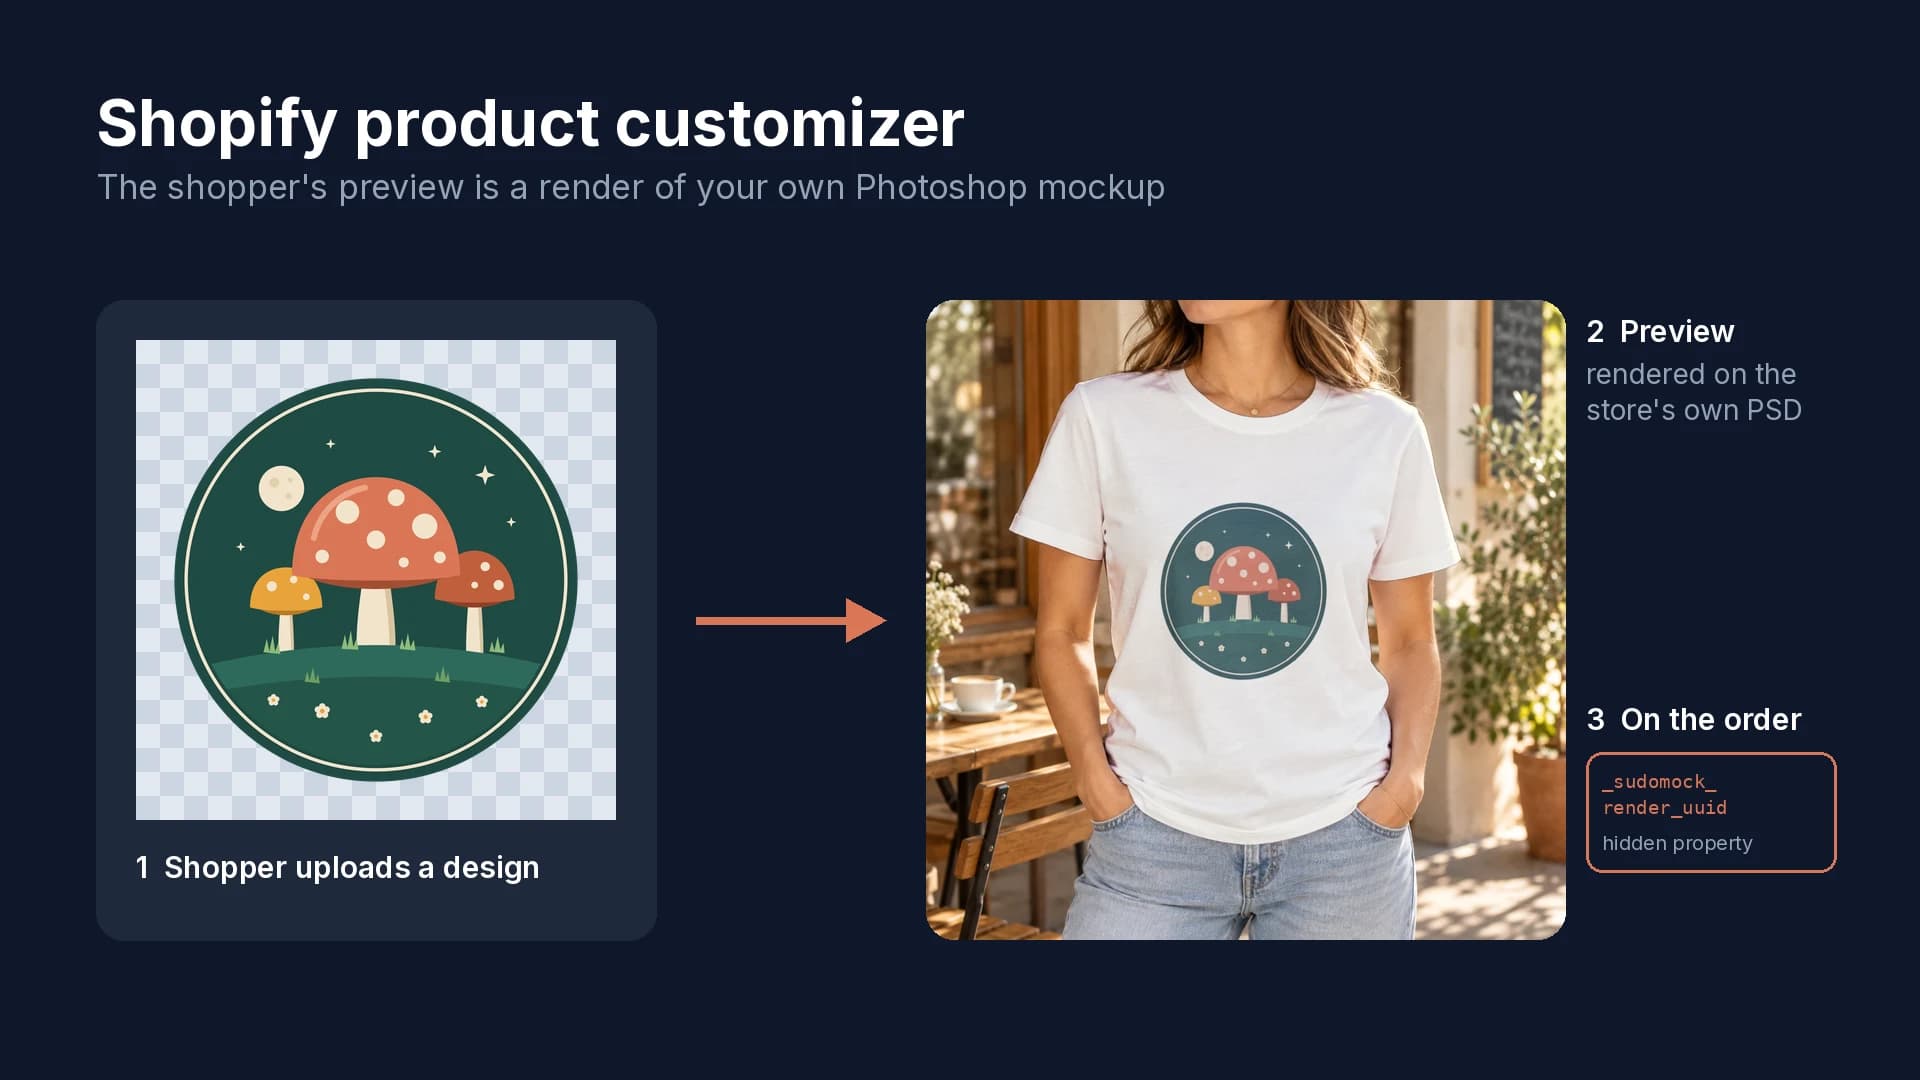
Key takeaways
- Shopify alone records text or uploads as line item properties, with no preview of the result.
- Themes edited in Shopify Canvas run no app blocks at launch (Shopify changelog, 1 October 2026).
- Key fulfillment on _sudomock_render_uuid: two orders of one variant carry two different designs.
What Shopify does without a customizer app
Shopify handles fixed choices on its own and records free text or a customer's file with theme code, but it shows the shopper nothing of the result. A product can have up to three options and 2,048 variants, according to Shopify's variant guide (read 3 October 2026). For anything beyond that, the same page points to "a third-party app from the Shopify App Store" or theme code that uses line item properties.
A line item property is a form field inside the product form whose name starts with properties. Shopify's product template docs give this sample and note that the same mechanism can "let a customer upload a file":
<input type="text" name="properties[Monogram]" />
The value travels with the cart line to the order. The shopper never sees the design on the product, which is the part a customizer app adds.
What the live preview is made from
A live preview is as convincing as the image it is drawn from. A common way to build one stacks the shopper's design as a flat layer over a product photo. The SudoMock Product Customizer renders the design inside your own mockup, a Photoshop template or one of your product photos, so the print takes on the folds, shadows and fabric of the product.
Shopify's guide to selling custom products lists this first among the things to judge in an app: "Preview accuracy. Does the app show a realistic preview of the finished product?" (Shopify blog, updated 4 September 2026). With SudoMock, what the shopper approves is the render itself, produced by the same engine as your API calls. The average SudoMock render finishes in under a second; we measure render time in milliseconds.
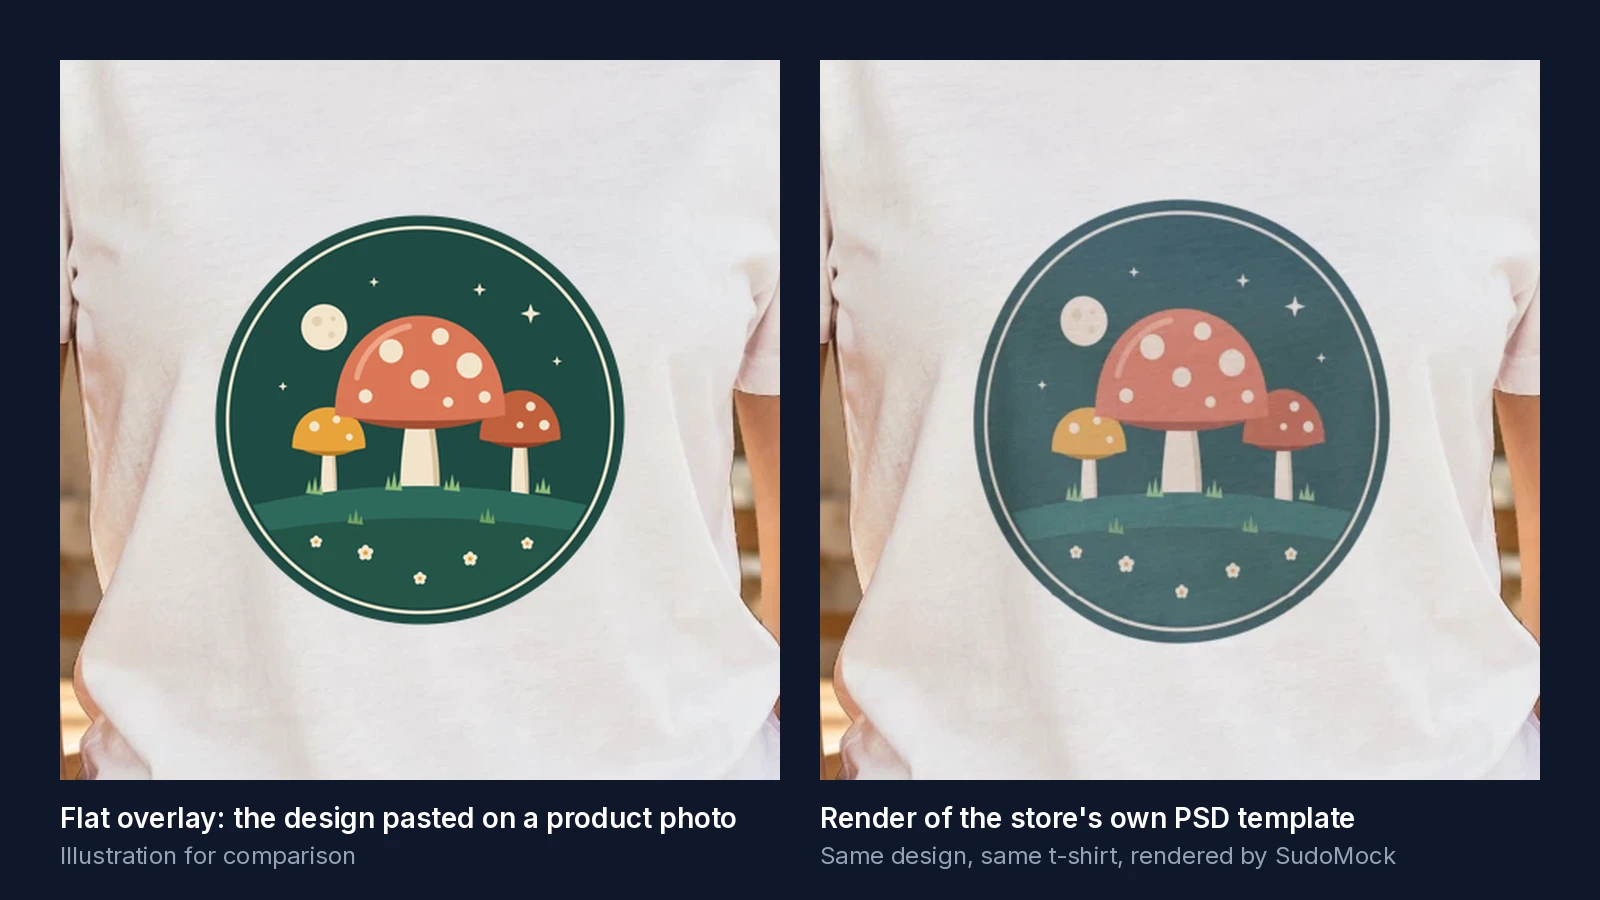 Left: an illustration of a flat overlay. Right: a SudoMock render of the same design in the PSD template, 3 October 2026.
| Preview type | What the shopper sees | What the store prepares |
|---|---|---|
| Option fields only | Text boxes and swatches, no picture of the result | Fields in an app or in the theme |
| Flat overlay | The design layered on a product photo | Product photos and a print box on each |
| Render of your mockup (SudoMock) | The design inside your Photoshop template or product photo, with its folds, shadows and texture | One PSD template or product photo per product |
Set up the SudoMock Product Customizer
Setup is five steps in Shopify admin and the theme editor, and it needs no code. Before you start, have a mockup in your SudoMock account for each product you want to open for customization: upload your own PSD or PSB file (up to 300 MB in the dashboard, with no file size limit over the API), turn one of your product photos into a mockup with Photo Mockups, or pick a template in the mockup library and select Use This Mockup.
- Install the app. Add SudoMock Product Customizer from the Shopify App Store. It is free to install, and the store picks its plan inside Shopify.
- Connect your account. Open the app, select Connect Account and sign in to SudoMock.
- Map a mockup to a product. In the app's Products page, choose the mockup for each product and switch customization on. The mapping is saved as product metafields in the
sudomocknamespace. - Add the block to your theme. In the theme editor, open the product template, add the Product Customizer block from the Apps list and place it near the buy button.
- Check a mapped product. Open it on your storefront, upload a design, adjust it and add it to the cart. The button appears only on products that have a mockup mapped and customization switched on.
Keep that product template on a theme you edit in the theme editor. Shopify's Canvas workspace, launched on 1 October 2026, does not run app blocks: "At launch, Canvas doesn't support third-party themes from the Shopify Theme Store, Markets, rollouts, translations, or app blocks and app embeds" (Shopify changelog). Shopify's theme app guide also states that "App blocks can only be used with compatible themes."
What reaches the order
Each order line names the approved design through two hidden line item properties. _sudomock_render_uuid is the render the shopper approved, and _sudomock_action_receipt_id is the confirmation your store made before the line was added (SudoMock docs).
Both names start with an underscore, which Shopify uses to "hide it from customers at checkout" (line_item reference). You still read them on the order: the Cart API reference says private properties "are visually hidden at checkout, but are visible on the Order details page in the Shopify admin."
Key your fulfillment step on the render id rather than on the product or the variant. Two orders of the same variant carry two different designs, and the render id is the one value that tells them apart.
Render the same mockup for your listing images
The PSD behind the preview also renders your catalog images through the API, so the listing photo and the shopper's preview come from the same file. One request returns the finished image:
curl -X POST https://api.sudomock.com/api/v1/renders \-H "x-api-key: $SUDOMOCK_API_KEY" \-H "Content-Type: application/json" \-d '{"mockup_uuid": "e532c503-fe20-4653-a301-af9f7a934609","smart_objects": [{ "uuid": "39865245-8d99-42e9-b1fc-3713fa4dbc94","asset": { "url": "https://example.com/designs/mushroom-badge.png", "fit": "fit" } },{ "uuid": "ea565e8a-2b2b-46a1-b181-ff19d0e18eac","color": { "hex": "#FFFFF1", "blending_mode": "multiply" } }],"export_options": { "image_format": "webp", "image_size": 1024 }}'
const response = await fetch('https://api.sudomock.com/api/v1/renders', {method: 'POST',headers: {'x-api-key': process.env.SUDOMOCK_API_KEY,'Content-Type': 'application/json',},body: JSON.stringify({"mockup_uuid": "e532c503-fe20-4653-a301-af9f7a934609","smart_objects": [{"uuid": "39865245-8d99-42e9-b1fc-3713fa4dbc94","asset": {"url": "https://example.com/designs/mushroom-badge.png","fit": "fit"}},{"uuid": "ea565e8a-2b2b-46a1-b181-ff19d0e18eac","color": {"hex": "#FFFFF1","blending_mode": "multiply"}}],"export_options": {"image_format": "webp","image_size": 1024}}),});const data = await response.json();console.log(data);
import osimport requestsresponse = requests.post("https://api.sudomock.com/api/v1/renders",headers={"x-api-key": os.environ["SUDOMOCK_API_KEY"],"Content-Type": "application/json",},json={"mockup_uuid": "e532c503-fe20-4653-a301-af9f7a934609","smart_objects": [{"uuid": "39865245-8d99-42e9-b1fc-3713fa4dbc94","asset": {"url": "https://example.com/designs/mushroom-badge.png","fit": "fit",},},{"uuid": "ea565e8a-2b2b-46a1-b181-ff19d0e18eac","color": {"hex": "#FFFFF1","blending_mode": "multiply",},},],"export_options": {"image_format": "webp","image_size": 1024,},},)print(response.json())
package mainimport ("bytes""fmt""io""net/http""os")func main() {payload := []byte(`{"mockup_uuid": "e532c503-fe20-4653-a301-af9f7a934609","smart_objects": [{"uuid": "39865245-8d99-42e9-b1fc-3713fa4dbc94","asset": {"url": "https://example.com/designs/mushroom-badge.png","fit": "fit"}},{"uuid": "ea565e8a-2b2b-46a1-b181-ff19d0e18eac","color": {"hex": "#FFFFF1","blending_mode": "multiply"}}],"export_options": {"image_format": "webp","image_size": 1024}}`)req, err := http.NewRequest("POST", "https://api.sudomock.com/api/v1/renders", bytes.NewBuffer(payload))if err != nil {panic(err)}req.Header.Set("x-api-key", os.Getenv("SUDOMOCK_API_KEY"))req.Header.Set("Content-Type", "application/json")resp, err := http.DefaultClient.Do(req)if err != nil {panic(err)}defer resp.Body.Close()body, _ := io.ReadAll(resp.Body)fmt.Println(string(body))}
<?php$payload = <<<'JSON'{"mockup_uuid": "e532c503-fe20-4653-a301-af9f7a934609","smart_objects": [{"uuid": "39865245-8d99-42e9-b1fc-3713fa4dbc94","asset": {"url": "https://example.com/designs/mushroom-badge.png","fit": "fit"}},{"uuid": "ea565e8a-2b2b-46a1-b181-ff19d0e18eac","color": {"hex": "#FFFFF1","blending_mode": "multiply"}}],"export_options": {"image_format": "webp","image_size": 1024}}JSON;$ch = curl_init('https://api.sudomock.com/api/v1/renders');curl_setopt_array($ch, [CURLOPT_CUSTOMREQUEST => 'POST',CURLOPT_RETURNTRANSFER => true,CURLOPT_HTTPHEADER => ['x-api-key: ' . getenv('SUDOMOCK_API_KEY'),'Content-Type: application/json',],CURLOPT_POSTFIELDS => $payload,]);$response = curl_exec($ch);curl_close($ch);echo $response;
Use the UUIDs of your own mockup. The second entry tints the shirt through the template's color layer, so leave it out if your mockup has none. The image URL comes back at data.print_files[0].export_path, and data.render_uuid identifies the render. Export the design at the proportions of the print area, which the mockup lists as the smart object's size (3951 x 4800 px on this template), so the artwork fills the area as drawn.
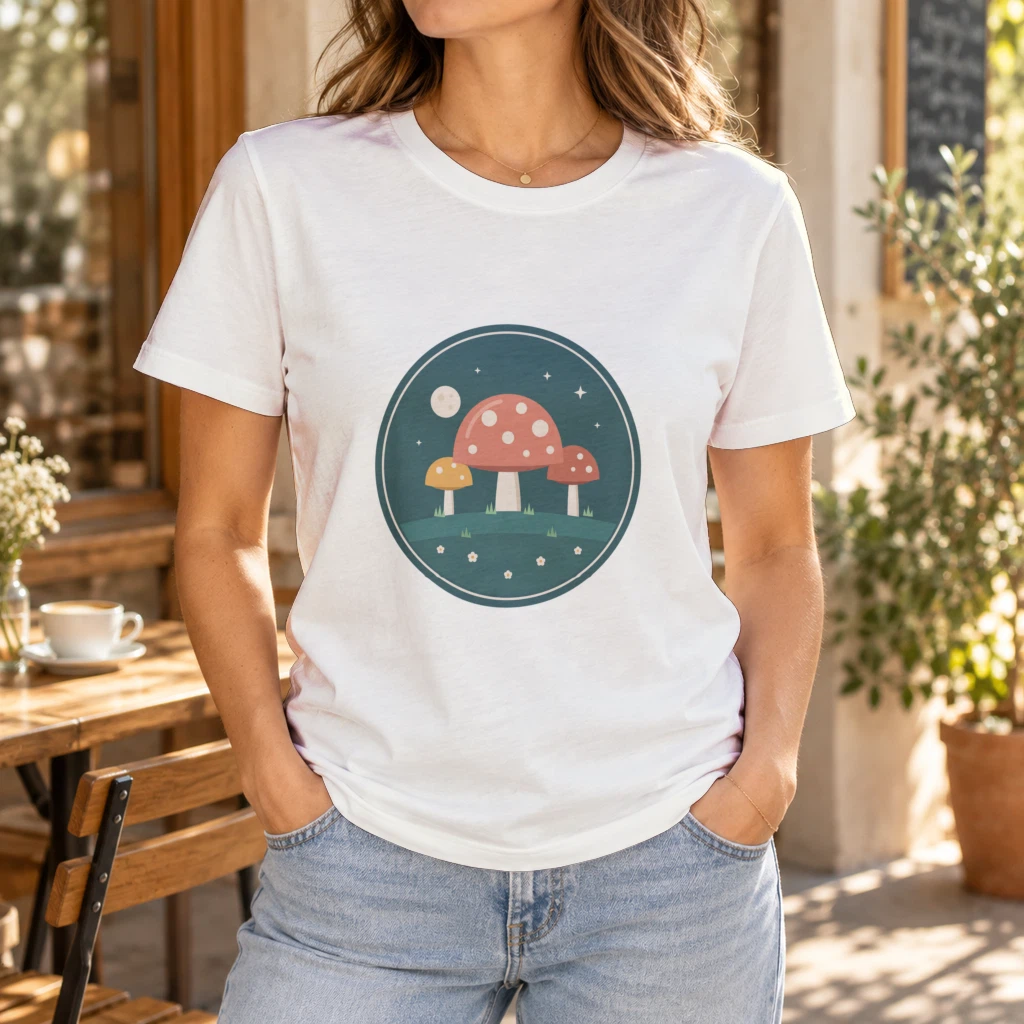 Output of this request with a 1976 x 2400 px PNG design, rendered on 3 October 2026.
image_size sets the output width from 100 to 10,000 px. For Shopify, a square image of 2048 x 2048 px "usually displays best", according to Shopify's product media guide (read 3 October 2026). To attach the rendered images to products automatically, see the Shopify API integration.
Next step
Follow the Shopify setup guide in the docs and install the app from its Shopify App Store listing. The Shopify integration page shows how the app fits a print on demand store. With no PSD yet, turn a product photo into a mockup with Photo Mockups, or start from a template in the mockup library or on the t-shirt mockups page. For a headless or custom storefront, the live preview guide opens the same editor in an iframe from a session your server creates, and the render reference lists every field of the request above.
Frequently asked questions
Does Shopify have a built-in product customizer?
No. Theme code can add line item properties that record text or a file upload. Showing the shopper's design on the product before checkout takes an app.
Can customers upload their own design on a Shopify product page?
Yes. A line item property can take a file upload, and a customizer app adds the editor and the preview. With SudoMock the uploaded design is rendered on your own mockup before the shopper adds it to the cart.
Where do I find the customer's design on a Shopify order?
Open the order in Shopify admin. A SudoMock line carries the hidden properties _sudomock_render_uuid and _sudomock_action_receipt_id, which Shopify hides at checkout and shows on the order details page. The render id identifies the exact design the shopper approved.
Does a product customizer work with every Shopify theme?
App blocks work only with compatible themes, as Shopify states in its theme app guide. Themes edited in Shopify Canvas run no app blocks or app embeds at launch, according to Shopify's changelog of 1 October 2026. Keep the product template on a theme you edit in the theme editor.
How many variants can a Shopify product have?
A Shopify product can have up to 2,048 variants and three options. Personalized text and uploaded designs do not fit into variants, so they travel with the order as line item properties.
Sources
- Adding variants (opens in new tab), Shopify Help Center
- product (opens in new tab), Shopify developer docs
- Product Customization: How To Sell Custom Products (2026) (opens in new tab), Shopify blog
- Design a fully bespoke store with Canvas (opens in new tab), Shopify Changelog
- Extend your theme with apps (opens in new tab), Shopify Help Center
- Liquid objects: line_item (opens in new tab), Shopify developer docs
- Cart API reference (opens in new tab), Shopify developer docs
- Product media types (opens in new tab), Shopify Help Center
- Add a product customizer to your Shopify store (opens in new tab), SudoMock docs
- Where the mockup id appears on a Shopify order (opens in new tab), SudoMock docs
- Render a PSD mockup (opens in new tab), SudoMock docs
Beck
CTO
Related articles
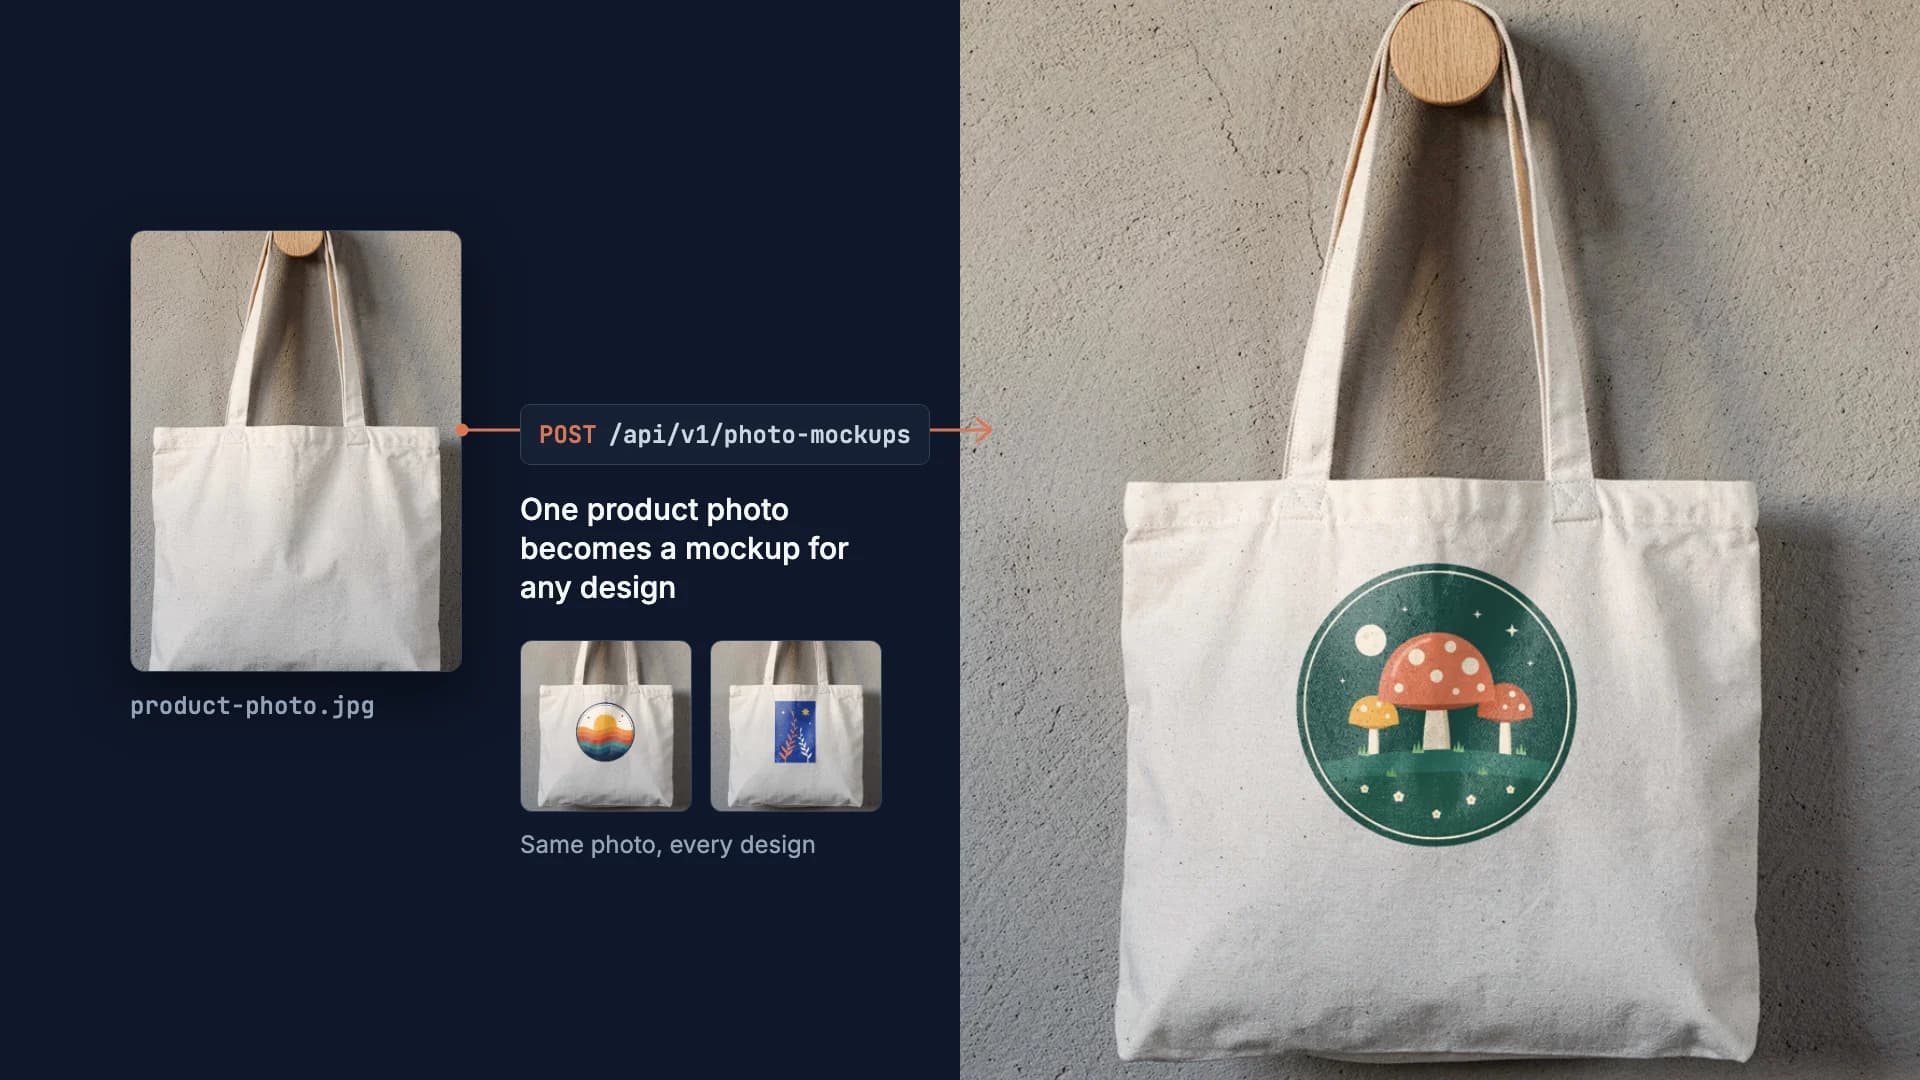
How to Make Your Own Mockup from Any Product Photo
One photo of your own product becomes a reusable mockup: the create call, the render call and real renders of four designs on a canvas tote.
7 min read
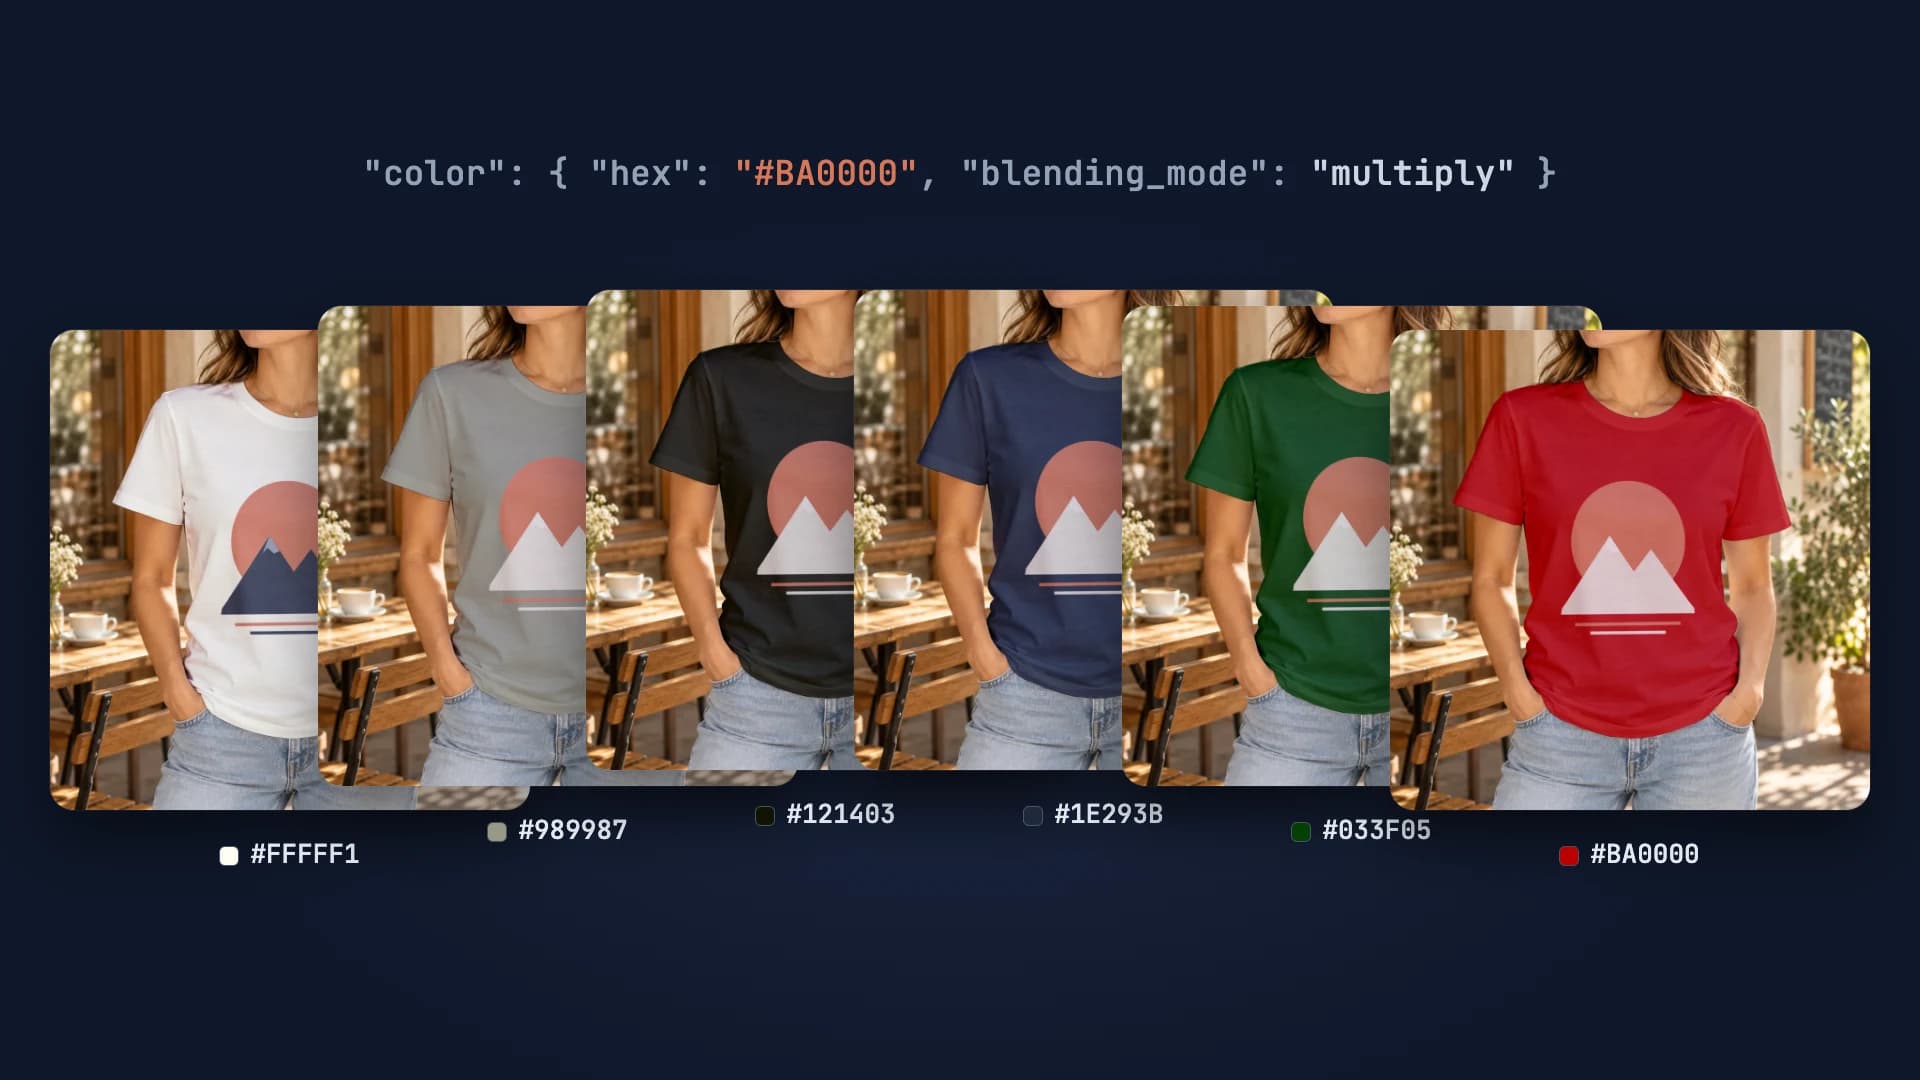
Every T-Shirt Color Variant Mockup from One PSD by API
One PSD with a color smart object renders every t-shirt colorway: one request per color, shown with six real renders.
4 min read
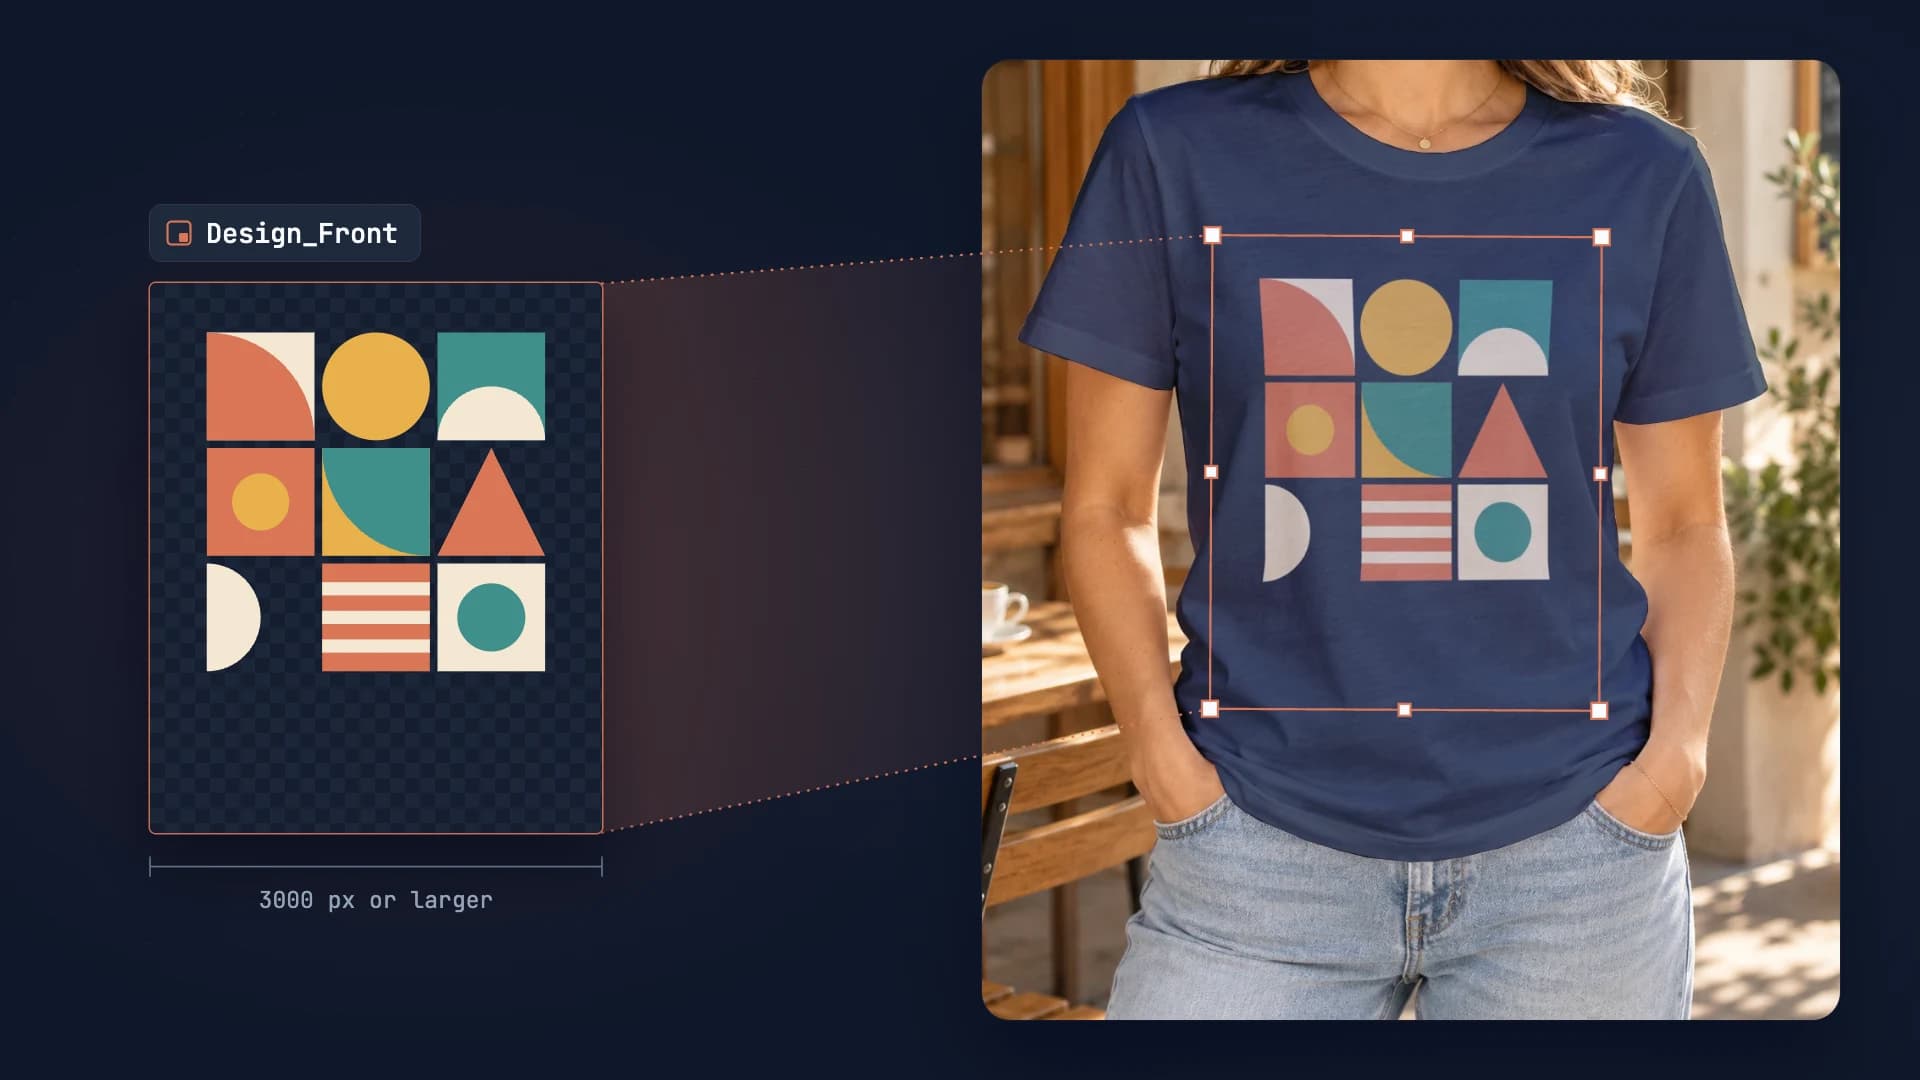
PSD Mockup Template Guide: Best Practices for Automation
Learn how to create API-ready PSD mockup templates. Complete guide covering dimensions, Smart Object setup, layer naming, blend modes, and optimization for automation.
7 min read
Your own PSD, rendered via API
Render your own PSD through the API. Start with 500 one-time credits, no card.