Complete Guide to Smart Objects in Mockups
Everything you need to know about Smart Objects for mockup templates. Setup, best practices, and common mistakes.
TL;DR
Smart Objects are the core of mockup templates. They preserve quality at any size, support transforms (warp, perspective), and enable non-destructive editing. Always convert design areas to Smart Objects.
Key Takeaways:
- •Smart Objects preserve quality regardless of scaling
- •Transforms (warp, perspective) work non-destructively
- •Layer effects on Smart Objects persist across content changes
- •Name Smart Objects descriptively for API identification
Smart Objects are the key to mockup automation. This guide covers everything you need to know about setting up Smart Objects for programmatic mockup generation.
What Are Smart Objects?
In Photoshop, a Smart Object is a special layer that acts as a container. Whatever image you place inside appears with the same perspective, shadows, and effects as the container. This is how mockups work - your design goes into the Smart Object, and it looks like it's printed on the product.
Why Smart Objects Matter
Mockup APIs like SudoMock detect Smart Object layers in your PSD and let you swap their contents programmatically. One PSD template = unlimited mockup variations.
Creating Smart Objects
Start with Your Product Photo
Open your product photo in Photoshop. This is the base image where designs will appear.
Create the Design Area
Draw a shape or rectangle where the design should appear on the product. This will become your Smart Object.
Convert to Smart Object
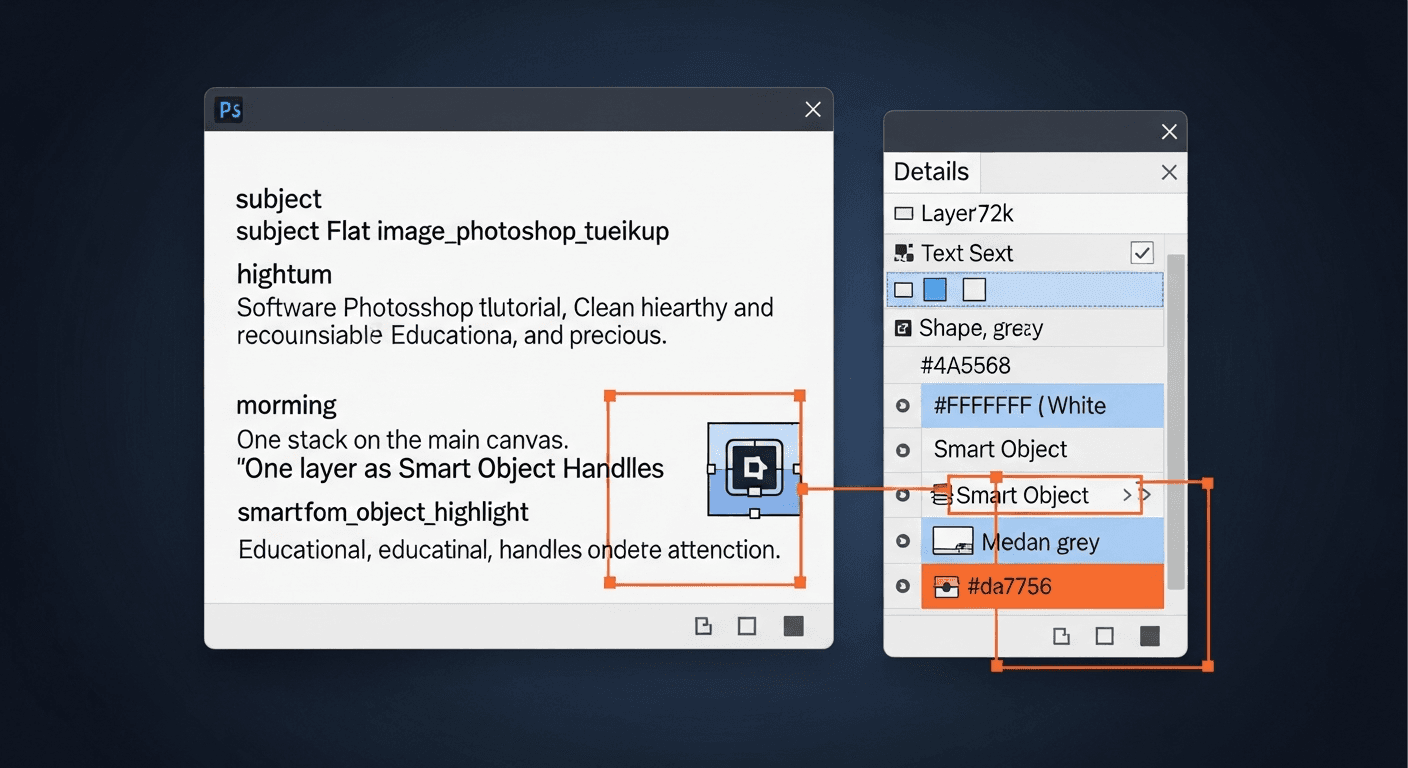
Right-click the layer and select "Convert to Smart Object". The layer thumbnail will show a small icon indicating it's now a Smart Object.
Naming Convention
Name your Smart Object layers descriptively: Design_Front, Design_Back,
Logo_Chest. These names appear in the API response, making integration easier.
Apply Transformations
Use Edit → Transform → Distort/Perspective/Warp to match the product's surface. For a t-shirt, add subtle curves. For a mug, wrap around the cylinder.
Add Blend Modes & Effects
Set the Smart Object's blend mode (usually Multiply or Soft Light) so designs integrate naturally with the fabric texture. Add any shadows or highlights.
Best Practices
Common Mistakes
Avoid These Pitfalls
- Rasterized layers - Once rasterized, a Smart Object can't be edited programmatically
- Merged layers - Don't merge your Smart Object with other layers
- Wrong color mode - Use RGB for web mockups, CMYK for print
- Missing effects - Effects should be on the Smart Object layer, not inside it
- Locked layers - Unlock all layers before uploading to the API
Testing Your Template
Before uploading to SudoMock, test your Smart Object manually:
1
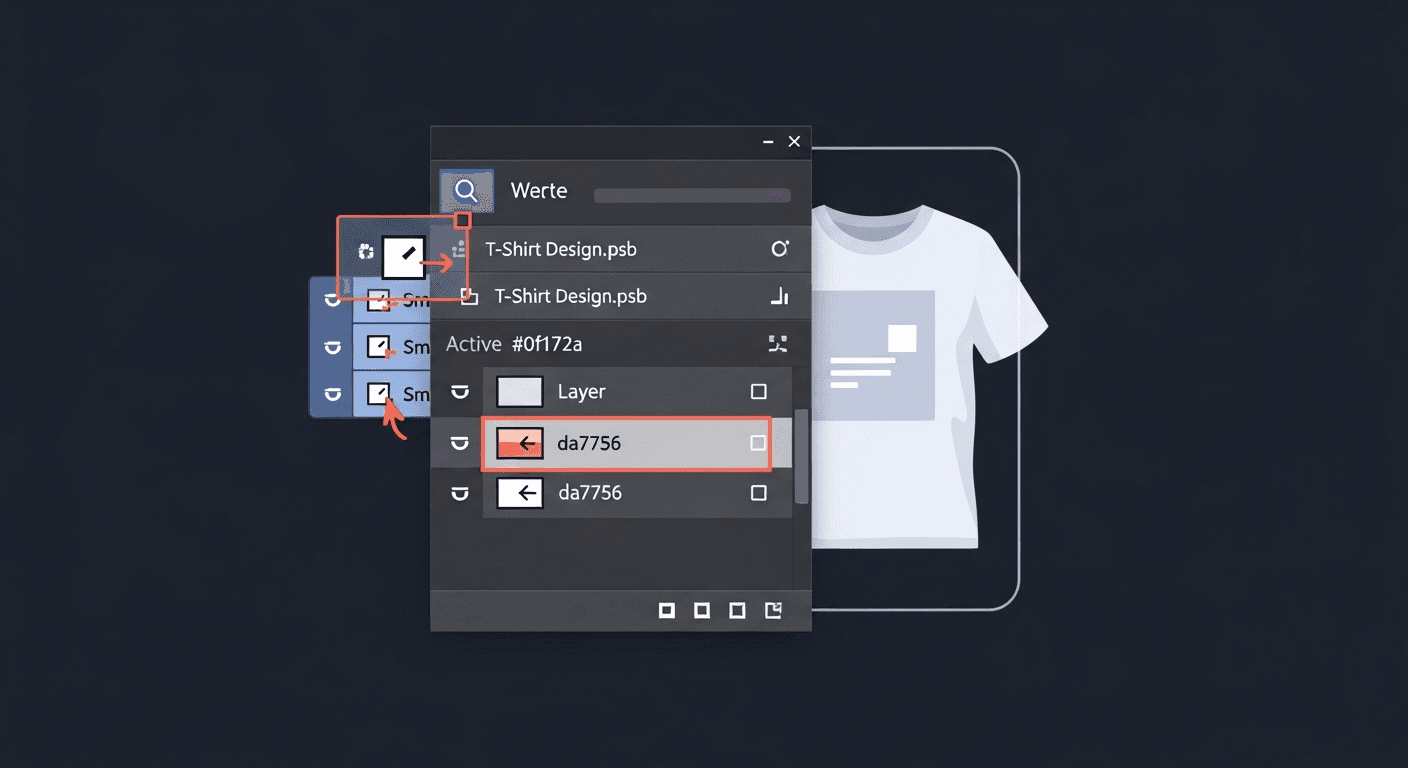
Uploading to SudoMock
Once your PSD is ready, upload it via the API. SudoMock automatically detects all Smart Objects and returns their UUIDs.
1
1
Ready to Render
Save the mockup_uuid and smart_object.uuid - you'll use these
in every render request to swap designs programmatically.
Related Resources
Frequently Asked Questions
Related Articles
PSD Mockup Template Guide: Best Practices for Automation
Learn how to create API-ready PSD mockup templates. Complete guide covering dimensions, Smart Object setup, layer naming, blend modes, and optimization for automated mockup generation.

5 Ways to Scale Your POD Business with API
Learn how successful POD sellers use APIs to generate thousands of product variations automatically.
Explore by Use Case
See SudoMock in action for your specific product category
Your own PSD, rendered via API
Photoshop-grade product mockups at $0.002 per render. Start free with 500 credits, no card.