How to Add a Product Customizer to WooCommerce With a Live Preview
Install the SudoMock Product Customizer plugin, connect your account, map a mockup to each product and place the Customize button: a block in the Site Editor on block themes, a Customizer setting on classic themes. Shoppers see their design rendered on your own mockup, and each order line keeps that preview and the source files.
Published 7 min readBeck
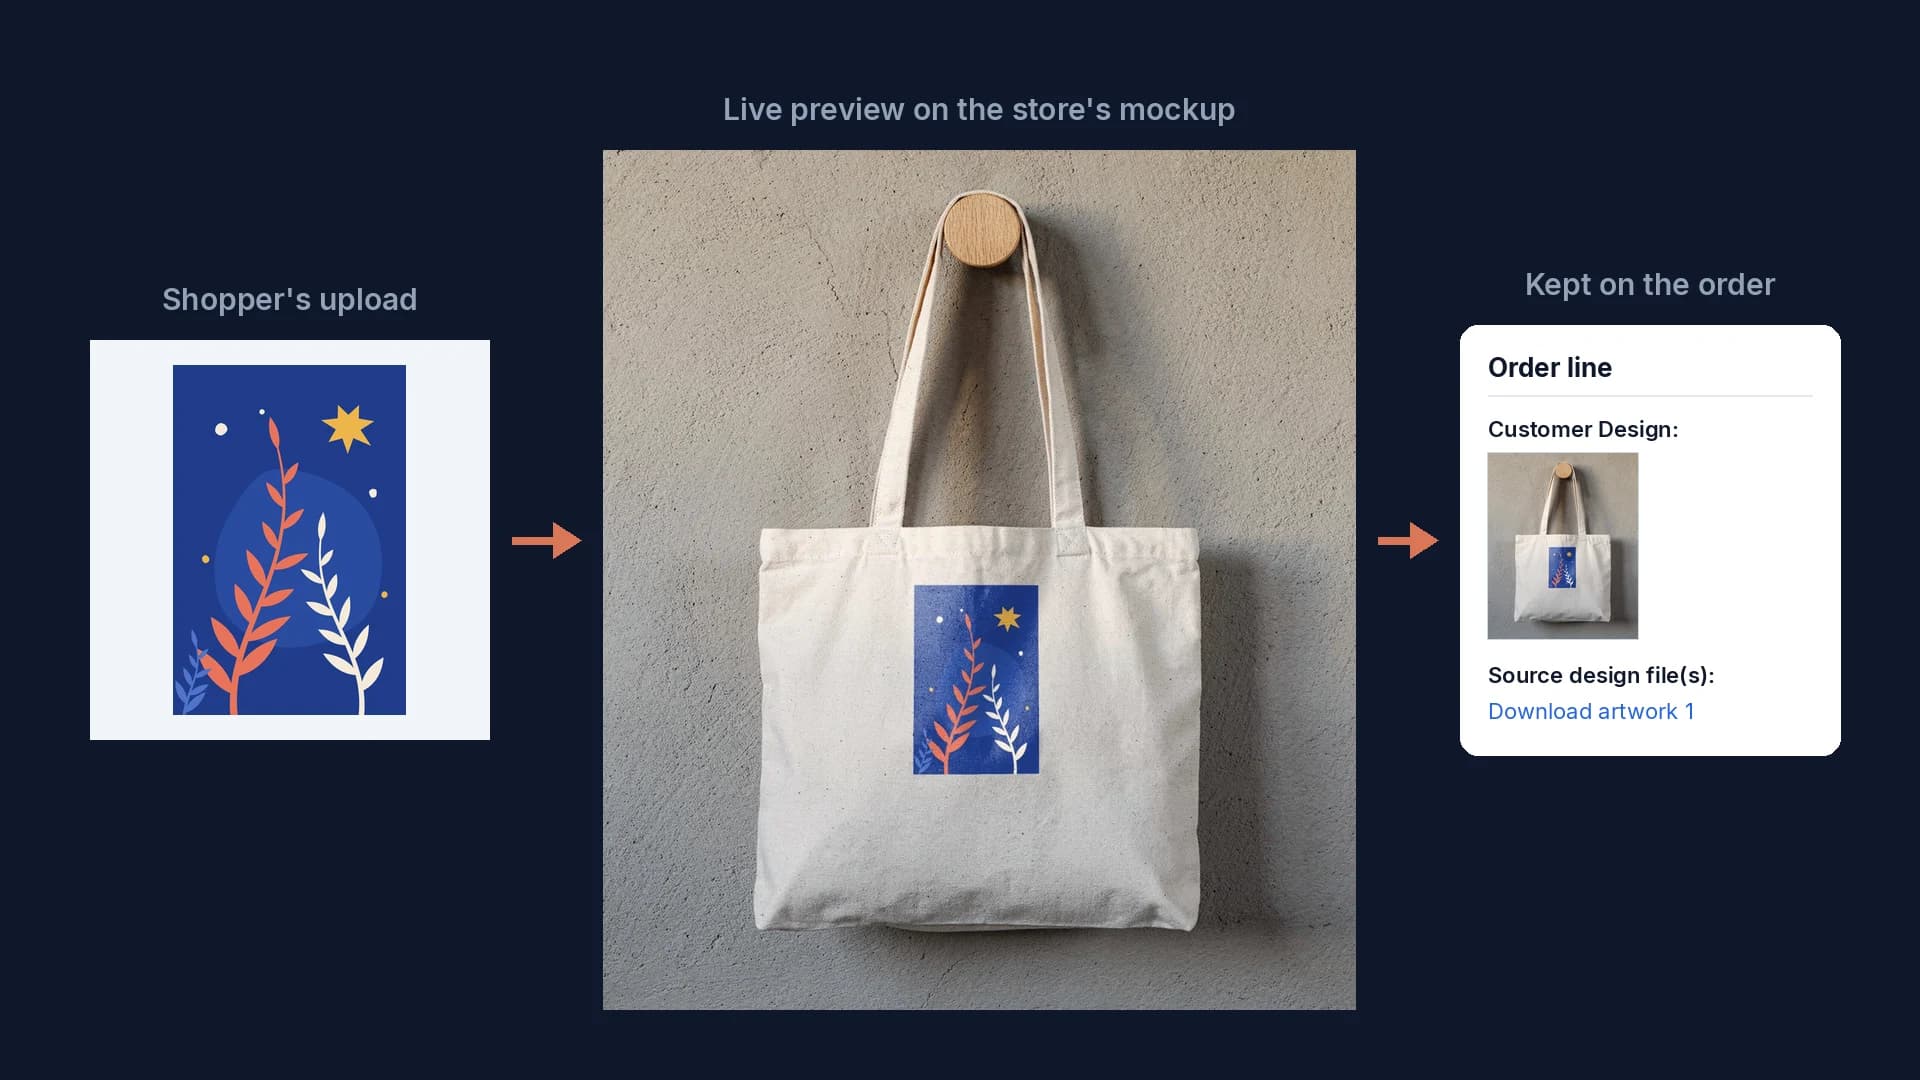
Key takeaways
- WooCommerce's File Upload add-on field records a file but shows the shopper no preview.
- A design reaches the cart only after SudoMock confirms the finished render.
- Scripts read _sudomock_artwork_url from order line meta through the WooCommerce REST API.
What WooCommerce does without a customizer
WooCommerce handles fixed choices on its own and can collect a customer's file with an extension, but neither shows the shopper the design on the product. Variable products turn attributes such as size and color into variations (WooCommerce's variable product guide).
For free text and uploads, the official Product Add-Ons extension offers field types such as Short Text, Long Text and File Upload. Its file field "Shows a button, which users can use to upload a file," and "The uploaded file will show up below the line item when editing an order." The shopper sends a file and never sees it on the product, which is the part a customizer adds.
What the live preview is made from
The SudoMock Product Customizer renders the shopper's design inside a mockup from your own account: a Photoshop template (PSD or PSB) or one of your product photos turned into a photo mockup. The print takes on the weave, folds and light of the product, and the preview the shopper approves is the same image your fulfillment step downloads. The average SudoMock render finishes in under a second; we measure render time in milliseconds.
 A SudoMock render from one product photo of a tote and a 2288 x 1708 px PNG design, 4 October 2026.
A common alternative pastes the design flat on top of a product photo, and the Shopify customizer guide sets the two side by side.
Set up the SudoMock Product Customizer
Setup is four steps in WordPress admin and needs no code. The plugin requires WordPress 6.0 or newer, WooCommerce 8.0 or newer and PHP 7.4 or newer, plus a SudoMock account with at least one mockup: upload your own PSD or PSB file (up to 300 MB in the dashboard, with no file size limit over the API), turn a product photo into a photo mockup, or pick a template in the mockup library and select Use This Mockup.
- Install the plugin. In WordPress admin open Plugins, Add New, search for SudoMock Product Customizer, then install and activate it. The plugin is free and listed on WordPress.org.
- Connect your account. Open SudoMock in the admin sidebar and select Connect account. The plugin keeps the credential encrypted in your WordPress install, and the storefront receives a short-lived session token instead.
- Map a mockup to each product. In the plugin's Products tab, choose a PSD template or a photo mockup for every product you want to open for customization. The SudoMock tab on a product's edit screen holds the same choice and its Enable Customization checkbox. If a mapped mockup is later deleted from your account, the product shows Mapped (invalid) with a Remap action, and the storefront hides its button until you remap it.
- Place the Customize button. Where it goes depends on your theme, as the next section shows. The button appears only on products with a mockup mapped and customization enabled.
Place the Customize button on block and classic themes
Block themes place the button with a block in the Site Editor, and classic themes place it with a setting in the WordPress Customizer. WordPress gives each theme only one of the two: "The Site Editor is only available when you install and activate a Block theme on your site" (WordPress.org), and "The Customizer is not available in block themes unless you are using a plugin or theme that requires it to be activated" (WordPress.org).
| Theme type | How to tell | Where the button goes |
|---|---|---|
| Block theme | The Appearance menu shows Editor | Appearance, Editor, the Single Product template: add the SudoMock Product Customizer block next to the Add to cart button |
| Classic theme | The Appearance menu shows Customize | Appearance, Customize, SudoMock Customizer, Button: choose a Button placement |
On a classic theme the placements are After Add to Cart button (the default), Before Add to Cart button, After product summary, and Manual, which shows the button wherever you put the [sudomock_button] shortcode. The same panel sets the label, colors, sizing and icon, and the block carries those options in its settings sidebar.
What reaches the cart and the order
A design reaches the cart only after SudoMock confirms the finished render, and it travels on to the order with its preview and its source files. The cart line shows the shopper's finished design as its thumbnail, in the Cart block too on WooCommerce 9.6 and later. On the order screen, each customized line shows Customer Design, a thumbnail that links to the approved preview, and Source design file(s), with a Download artwork link for each file the shopper uploaded.
The plugin stores these links and ids as order item meta:
| Meta key | What it holds |
|---|---|
_sudomock_preview_url | The preview image the shopper approved |
_sudomock_artwork_url, then _sudomock_artwork_url_2 up to _10 | The design files the shopper uploaded |
_sudomock_render_uuid | The id of the approved render |
_sudomock_mockup_uuid | The mockup the design was rendered on |
_sudomock_action_receipt_id | The confirmation made before the line reached the cart |
Customization Preview, Source Design, then Source Design 2 up to Source Design 10 | The same links under readable names, shown on the order line |
SudoMock keeps the preview and the design files attached to an order for fulfillment.
The plugin works with High-Performance Order Storage, which WooCommerce has enabled by default for new installations since version 8.2 (WooCommerce developer docs), and with both the classic and the block checkout. A personal data erasure request removes every SudoMock key from that customer's order lines.
Read the design from an order in code
A fulfillment script reads the same keys through the WooCommerce REST API, with no extra parameter. Create a key with read access under WooCommerce, Settings, Advanced, REST API, then request the order:
curl -X GET https://your-store.com/wp-json/wc/v3/orders/727 \-u "$WC_CONSUMER_KEY:$WC_CONSUMER_SECRET"
Each entry in line_items carries a meta_data list of key and value pairs. Take _sudomock_preview_url for the approved preview and _sudomock_artwork_url, then _sudomock_artwork_url_2 and onward, for the files to print. The WooCommerce REST API reference documents this request and its HTTP Basic authentication over HTTPS, "providing the REST API Consumer Key as the username and the REST API Consumer Secret as the password." The orders endpoint returns every line item meta key a plugin adds, the underscore ones included (orders controller source), so the SudoMock keys are in the response.
Next step
Follow the WooCommerce setup guide in the docs and install the plugin from its WordPress.org listing. The WooCommerce integration page shows how the plugin fits a print on demand store. With no PSD yet, make your own mockup from a product photo or start from a template in the mockup library. To render catalog images from the same mockups without a shopper, start at the Quickstart, and for a headless storefront the live preview guide opens the same editor from a session your server creates.
Frequently asked questions
Does WooCommerce have a built-in product customizer?
No. WooCommerce handles fixed choices with variable products, and the official Product Add-Ons extension adds fields such as text and file upload. Neither shows the shopper's design on the product before checkout, which takes a customizer plugin.
Does the customizer work with block themes and classic themes?
Yes. On a block theme you add the SudoMock Product Customizer block to the Single Product template in the Site Editor. On a classic theme you choose the button placement under Appearance, Customize, or put the [sudomock_button] shortcode where you want the button.
Where do I find the customer's design on a WooCommerce order?
Open the order in WordPress admin. Each customized line shows Customer Design, a thumbnail of the approved preview, and Source design file(s) with a download link for each uploaded file. Scripts read the same links from the line item meta, for example _sudomock_preview_url.
Does it work with HPOS and the Cart and Checkout blocks?
Yes. The plugin supports High-Performance Order Storage and both the classic and the block checkout. The Cart block shows the customized thumbnail on WooCommerce 9.6 and later.
Can I use my own Photoshop mockups?
Yes. Upload your own PSD or PSB template with a smart object for the design, up to 300 MB in the dashboard, or turn one of your product photos into a mockup. Each product is then mapped to one of them in the plugin's Products tab.
Sources
- Variable Products Documentation (opens in new tab), WooCommerce
- Product Add-Ons Documentation (opens in new tab), WooCommerce
- Site Editor (opens in new tab), WordPress.org Documentation
- Block themes (opens in new tab), WordPress.org Documentation
- class-wc-rest-orders-v2-controller.php (opens in new tab), WooCommerce source on GitHub
- WooCommerce REST API Documentation (opens in new tab), WooCommerce
- High Performance Order Storage (HPOS) (opens in new tab), WooCommerce developer docs
- SudoMock Product Customizer (opens in new tab), WordPress.org Plugins
- Customize products with WooCommerce and SudoMock (opens in new tab), SudoMock docs
Beck
CTO
Related articles
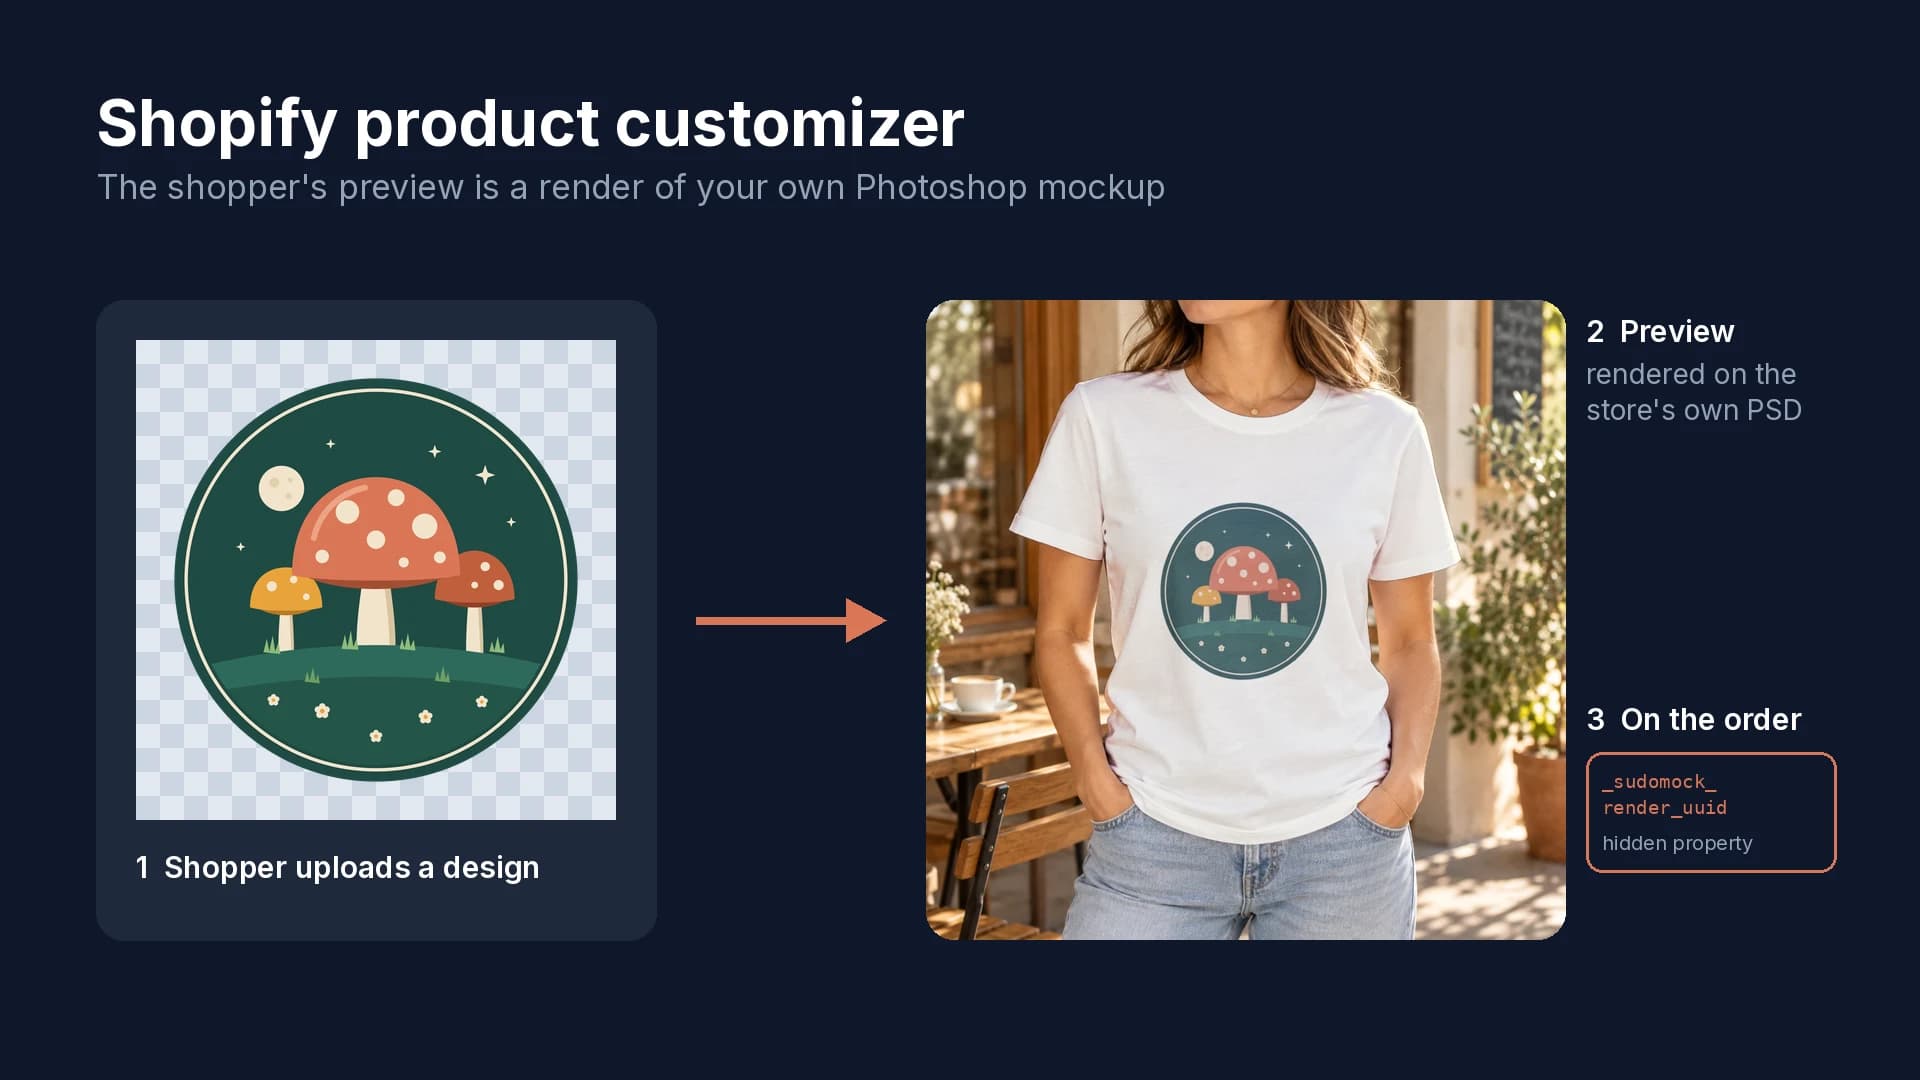
How to Add a Product Customizer to Shopify With a Live Preview
Five setup steps, a live preview rendered from your own mockup, and the two hidden properties that tie each order to the approved design.
6 min read
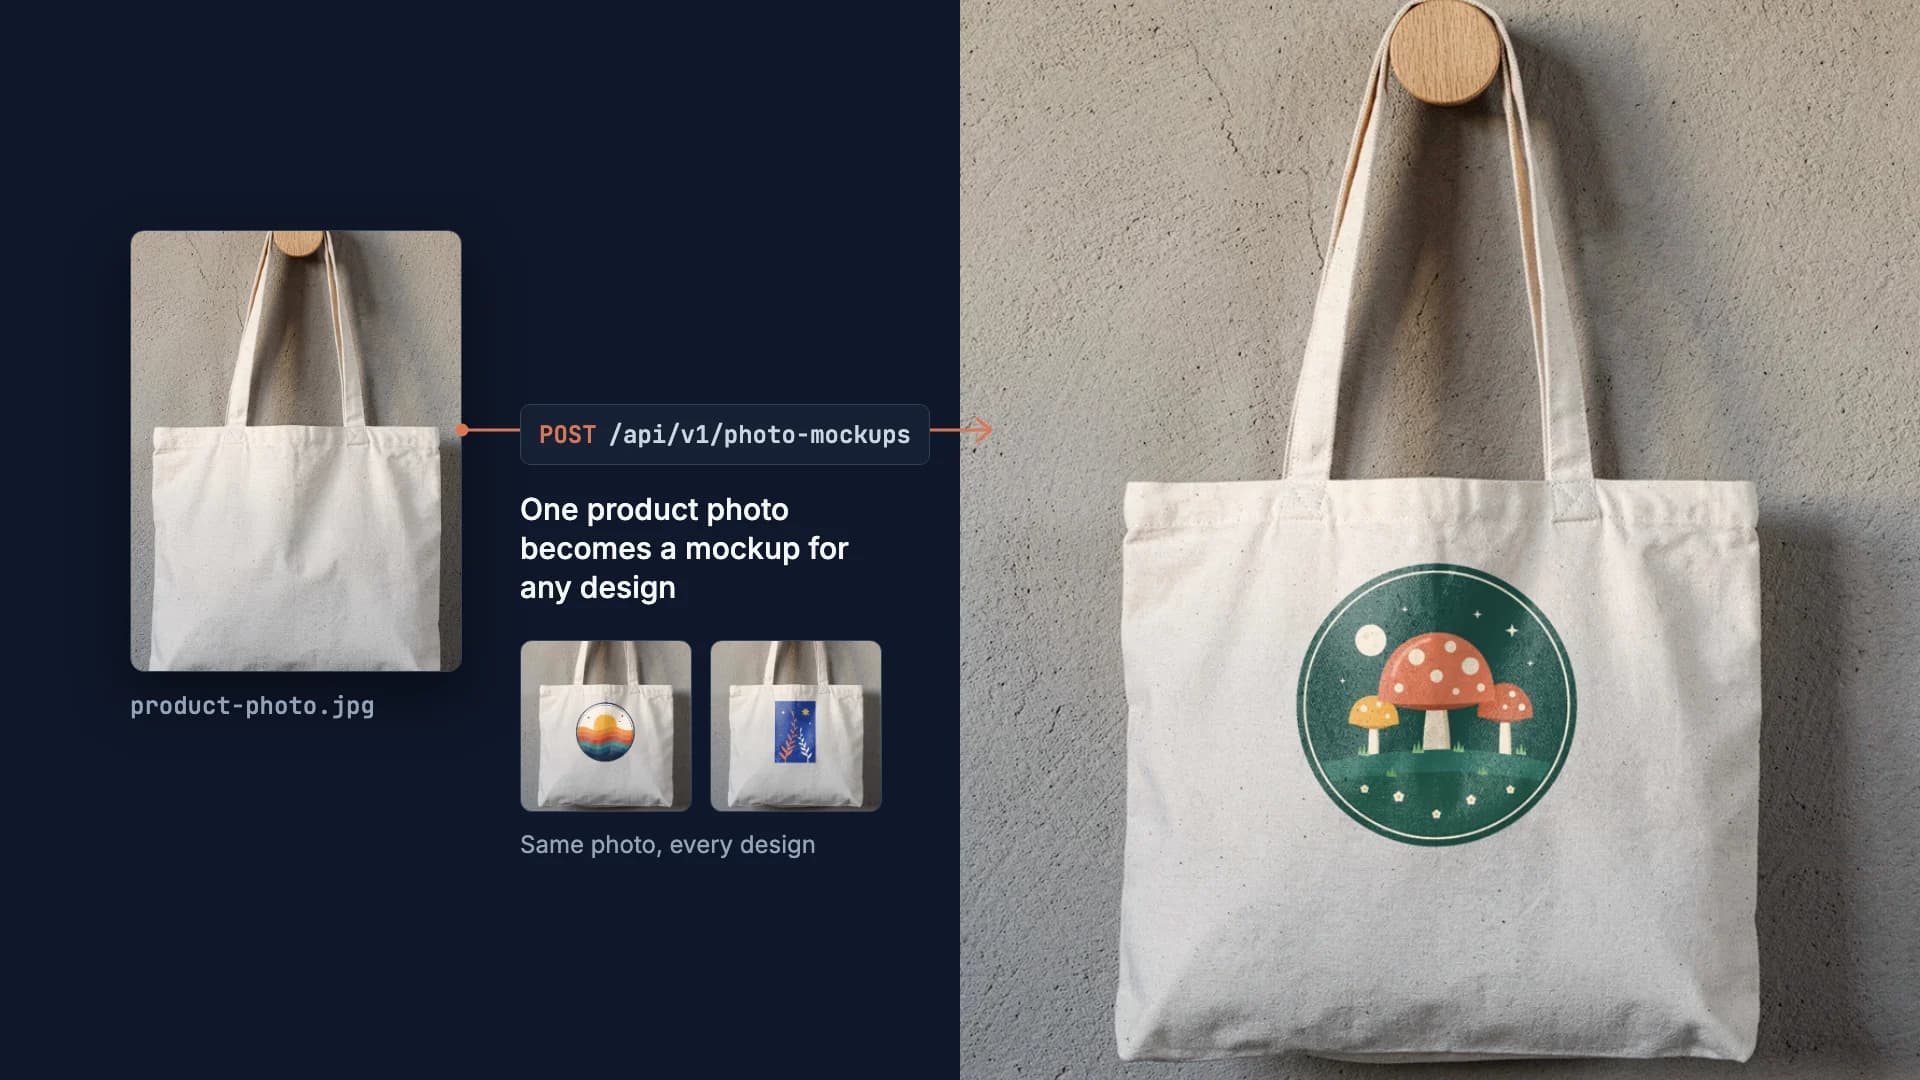
How to Make Your Own Mockup from Any Product Photo
One photo of your own product becomes a reusable mockup: the create call, the render call and real renders of four designs on a canvas tote.
7 min read
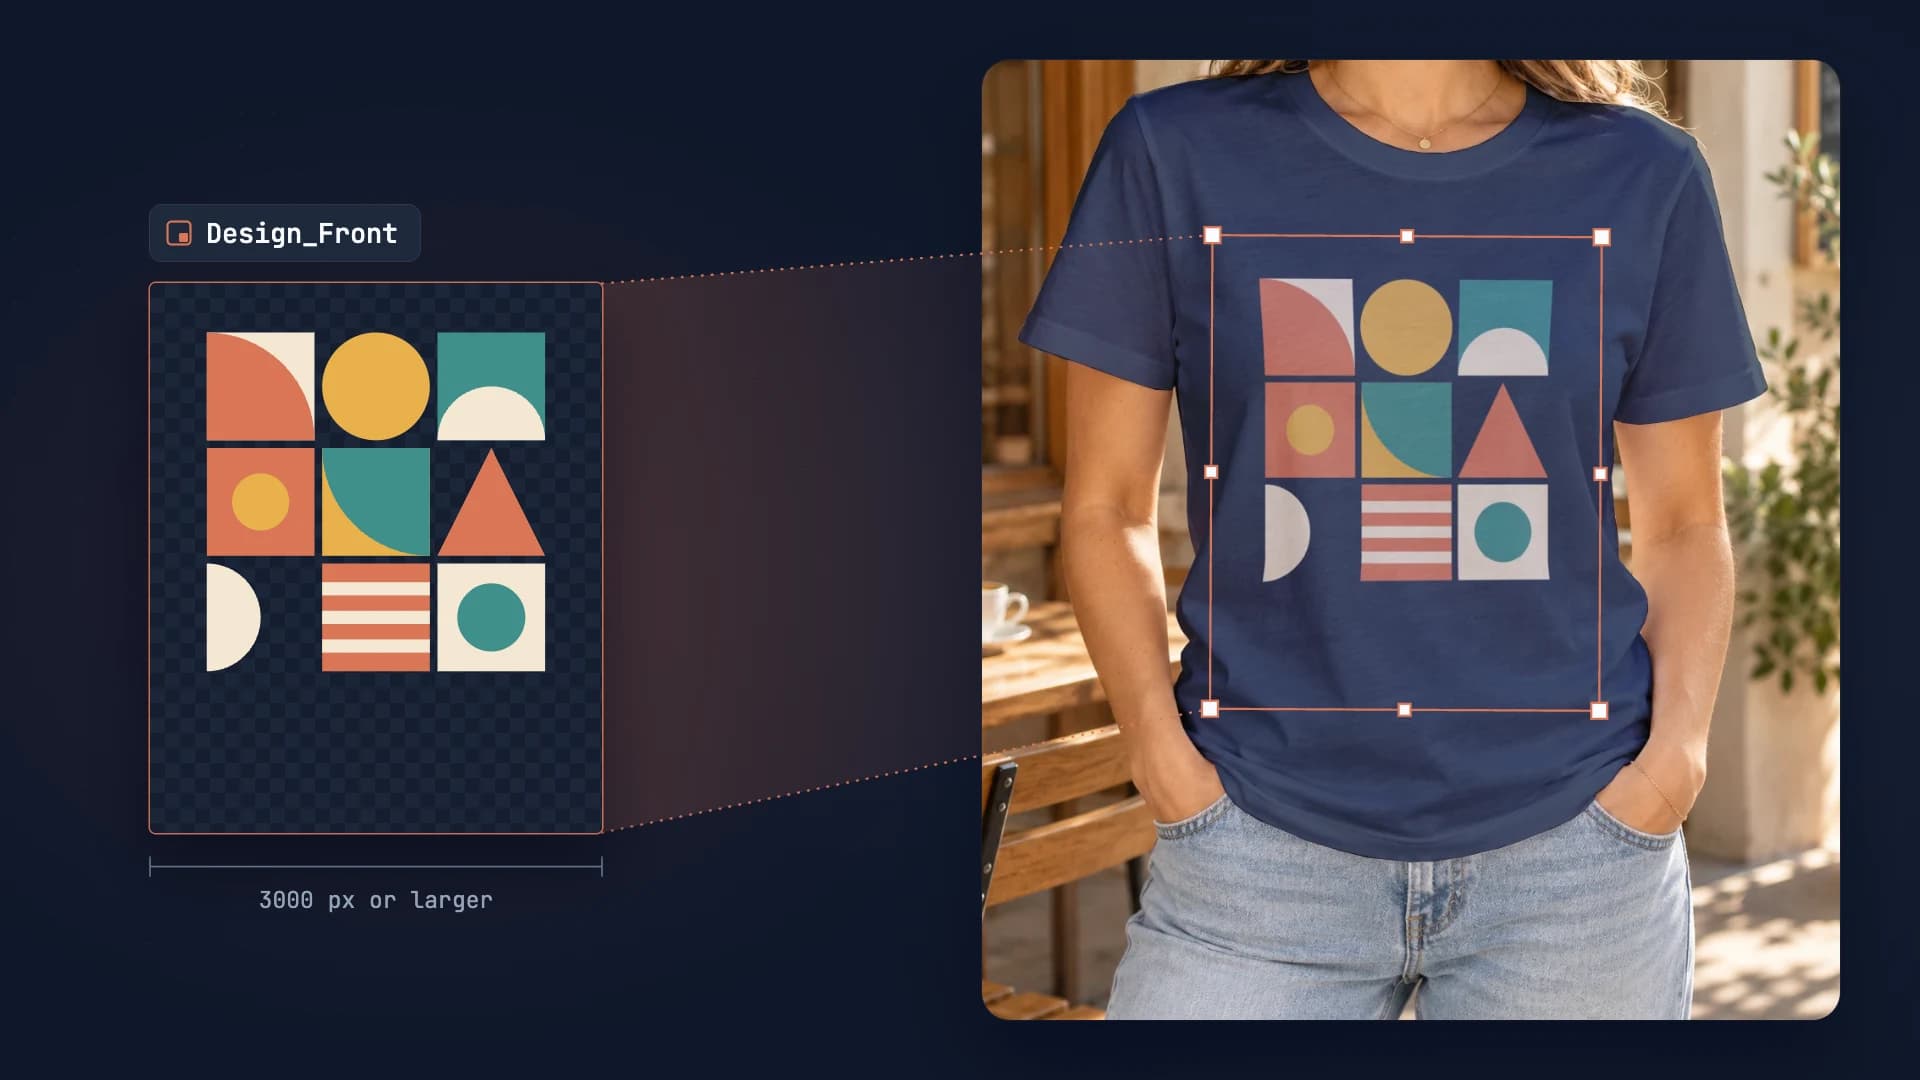
PSD Mockup Template Guide: Best Practices for Automation
Learn how to create API-ready PSD mockup templates. Complete guide covering dimensions, Smart Object setup, layer naming, blend modes, and optimization for automation.
7 min read
Your own PSD, rendered via API
Render your own PSD through the API. Start with 500 one-time credits, no card.